I have started taking weekly Lifedrawing classes at ArCo- Centre de Arte e de Comunicacao Visual- in Lisbon. So far, I have had five classes that have all been very different taught by different teachers and using different media. The size of paper is always A2, to avoid working too small. I have been going to various lifedrawing classes before in Indonesia and here in Lisbon, where a model was provided but we were then entirely free to use our materials and methods. Here, the instructions are very precise and we all use the same material, with an incredible variety of outcome anyway.
8/11/2019
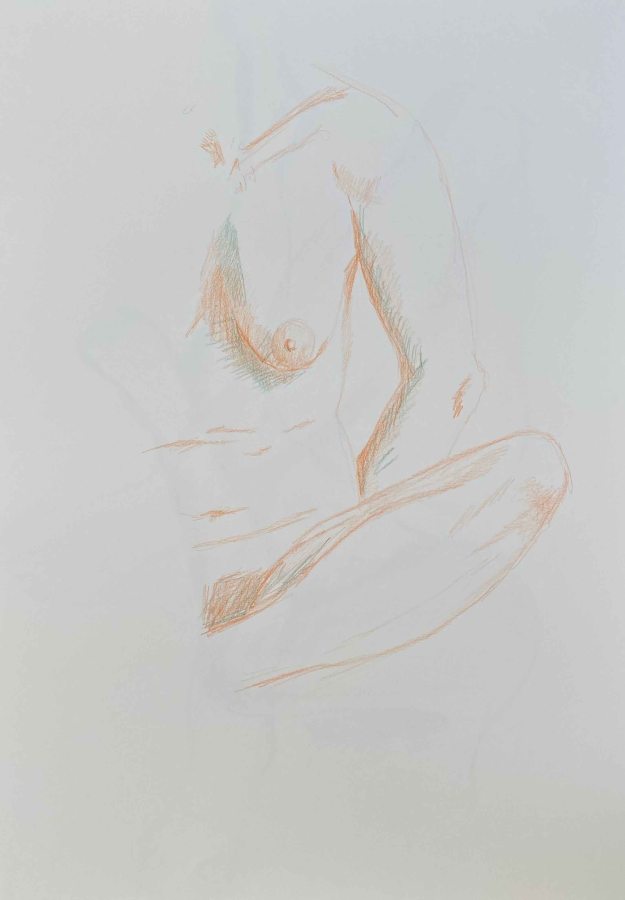
For the first class, we used coloured pencils and were instructed to draw only inner contours and very very slowly. Our eyes dart from the model to the paper where we are instructed to do strictly no marks without first looking at the model. This method is to catch ourselves when we start doing automated mark making for details like the little body hairs for example.
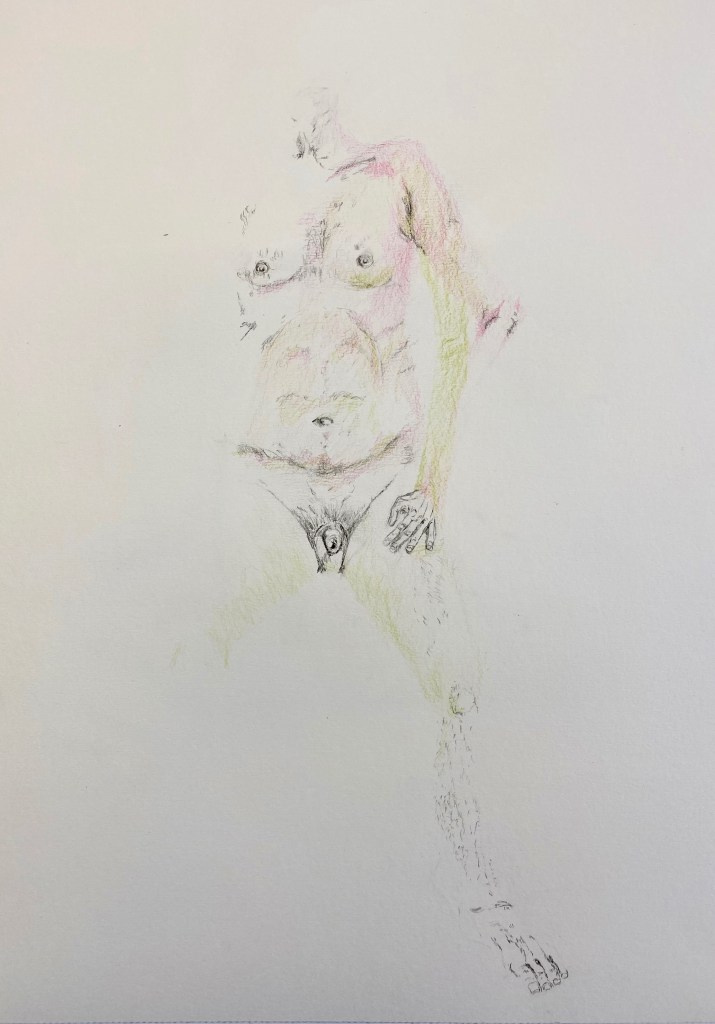
After 30 or more excruciatingly detailed minutes, we only had a few more minutes for the shading in coloured pencils, still without drawing outer contours.
We then repeated the exercise with another long pose.
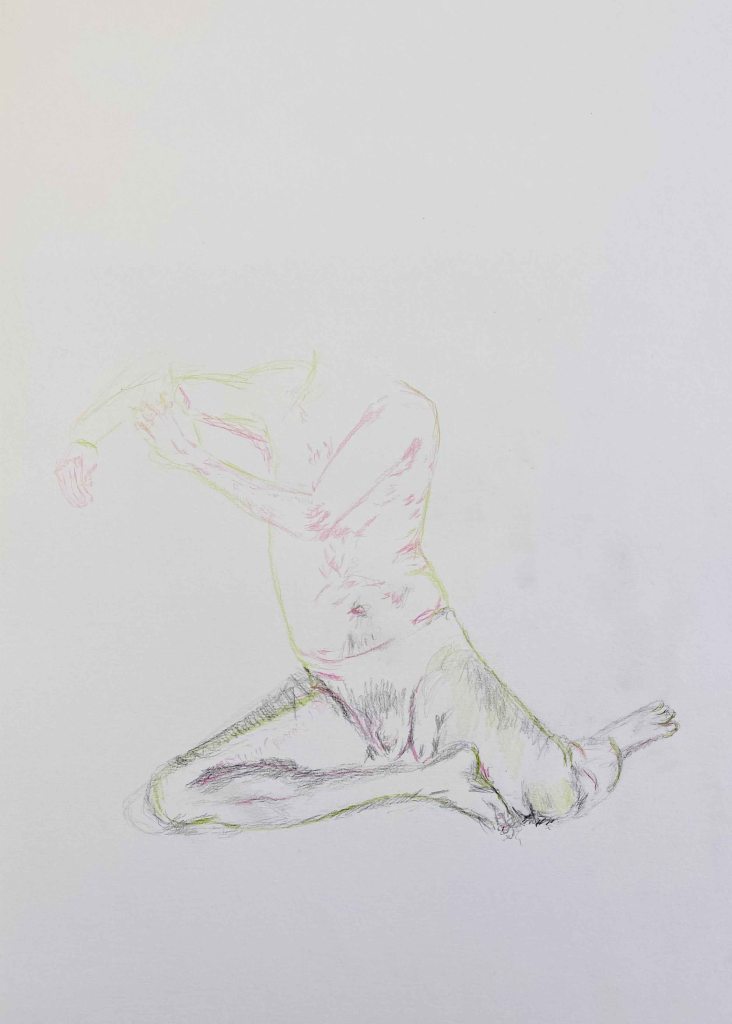
This time we used the coloured pencils for some outer contours.
It was useful to see how dependent I am on outer contours and how easy it is to start automated mark making. I had a hard time slowing down so extremely and drawing little bodyhairs. I missed quick warm up poses to get a feeling for the proportions.
15/11/2019
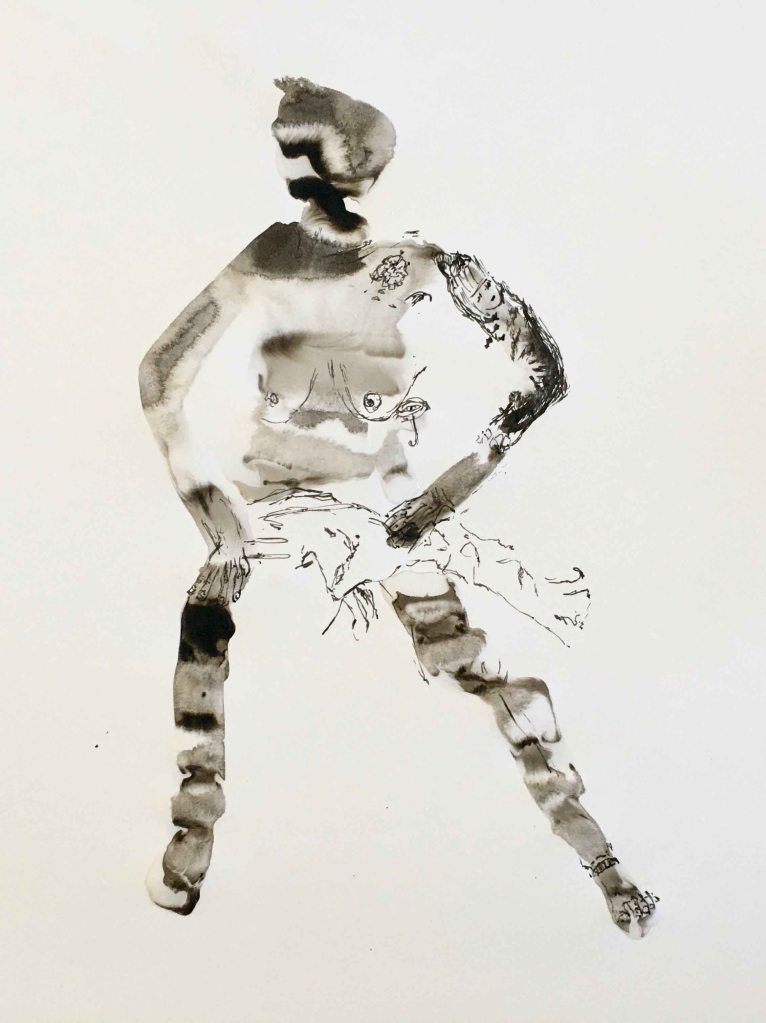
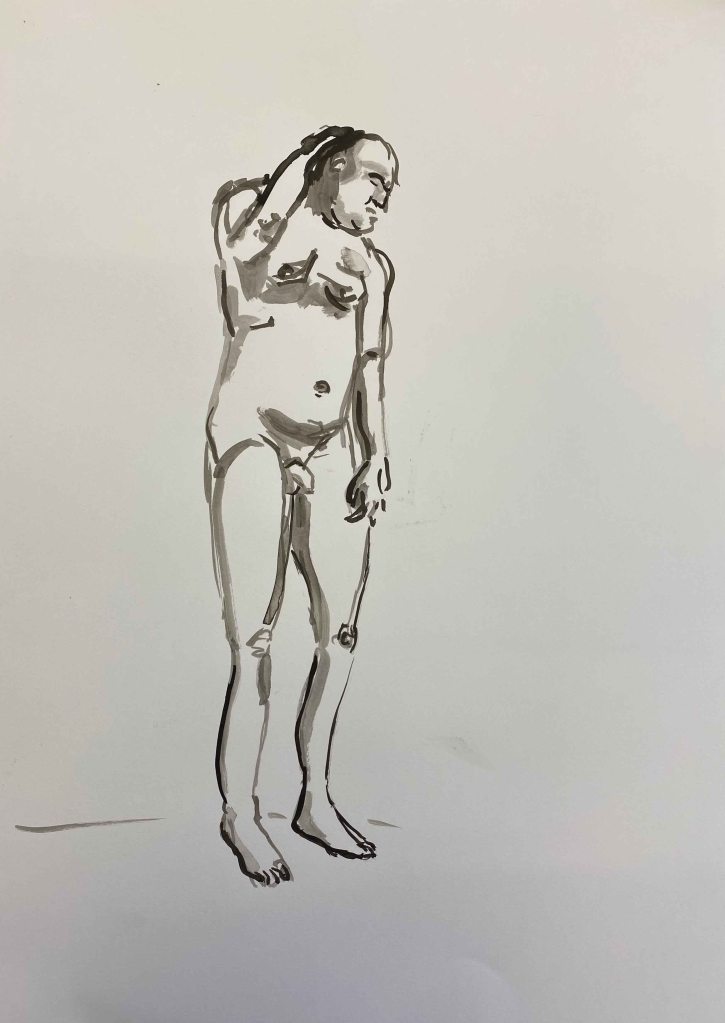
Today we were using Indian ink with a nib pen and a brush. The aim of the exercise is to combine precise, analytical mark making with accidental marks.
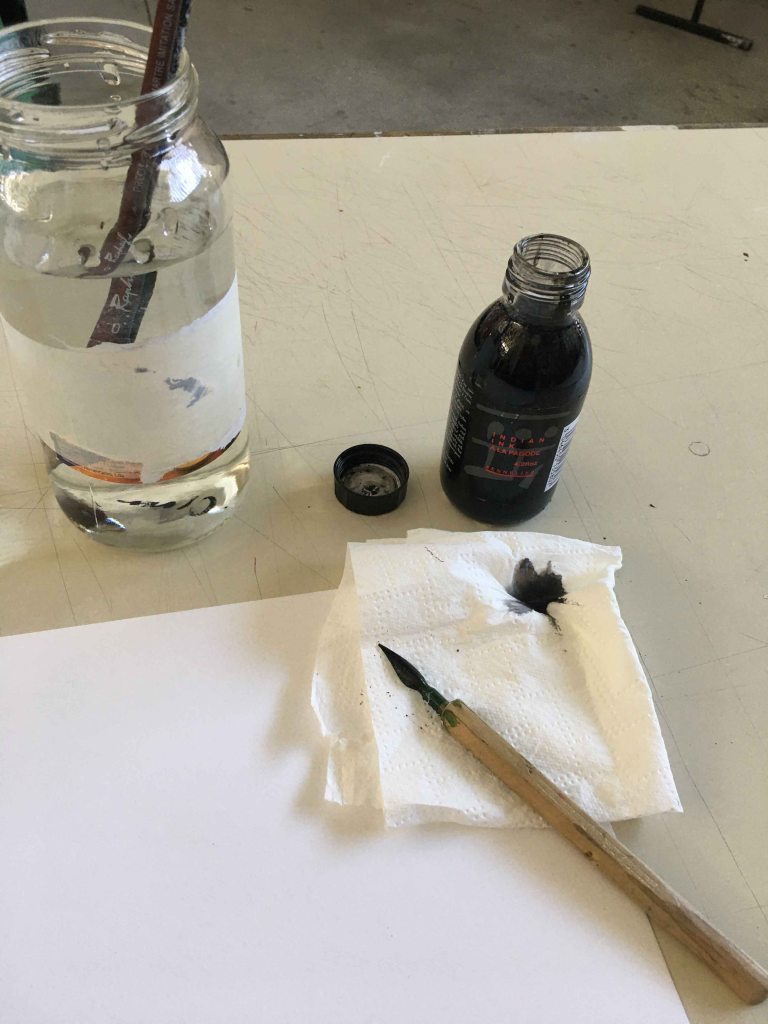
Using the nib pen, we were again instructed to draw very precise inner contours, even the tattoos, without the help of the outer contours. I am used to always start a figure by a light “skeleton” to get the proportions right and find it extremely difficult to get the whole to work when so focused on small details.
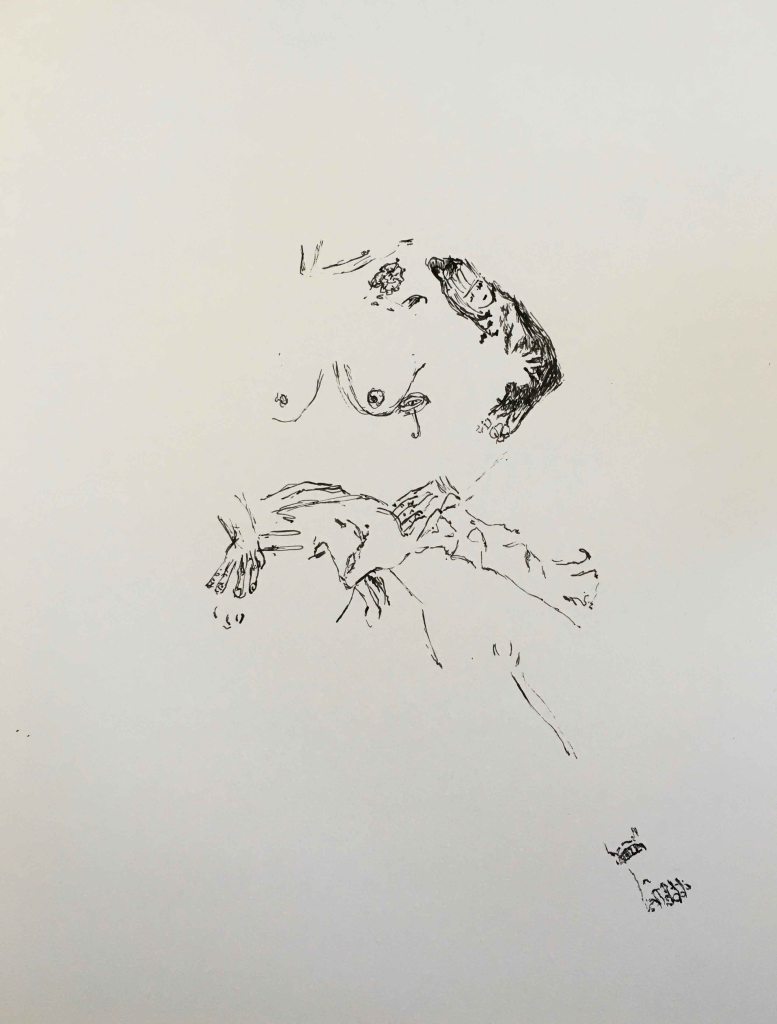
After the ink was dry, we quickly painted the whole figure in water, and dripped ink on the wet parts, to form the accidental marks.
For the second pose, we inverted the process by starting with a figure in water with dripped ink.
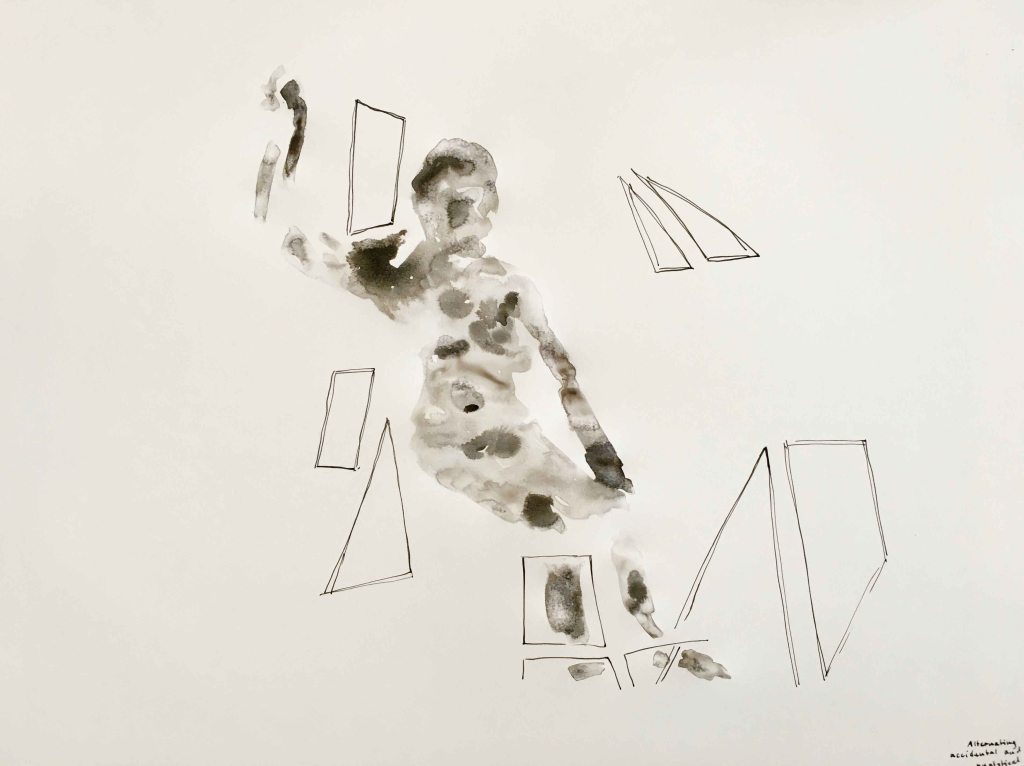
Then we focused on a set of easels and other geometrical figures that were placed around the figure and had to choose some inner contours of these. I like the playful result of the combination of the figure and the geometrical shapes.
For the last pose, we were drawing in ink with the brush, only drawing the dark parts. Again, I was challenged by not drawing any skeleton to start from, but liked the result.
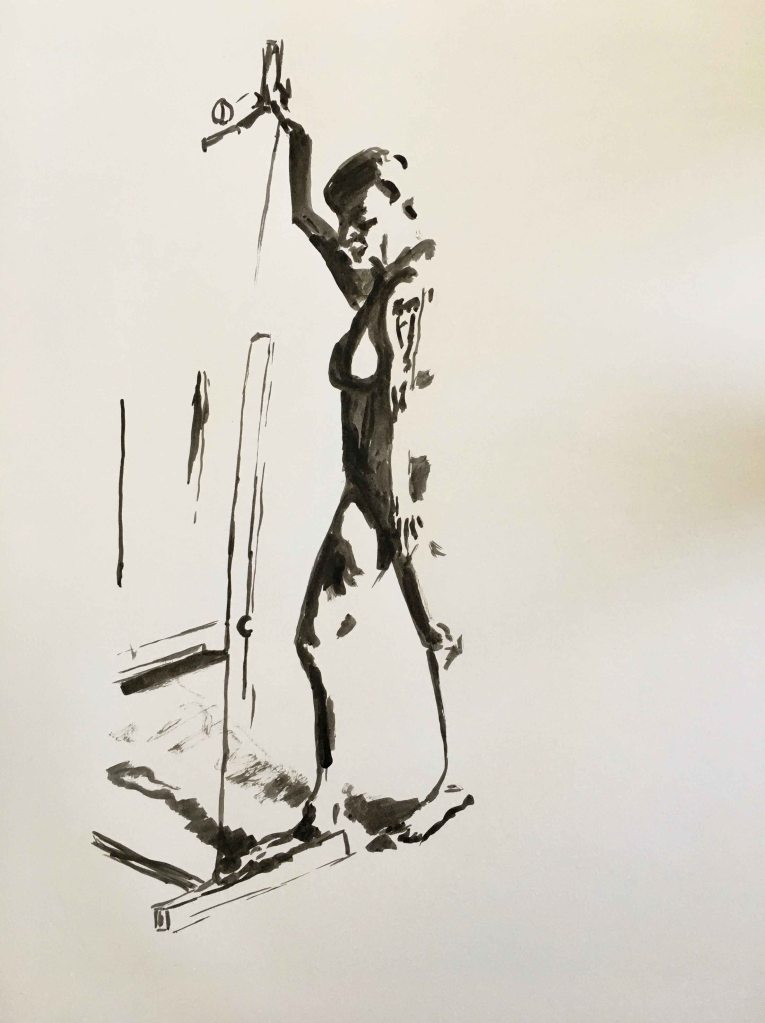
I truly enjoyed using the ink today and will continue exploring this.
22/11
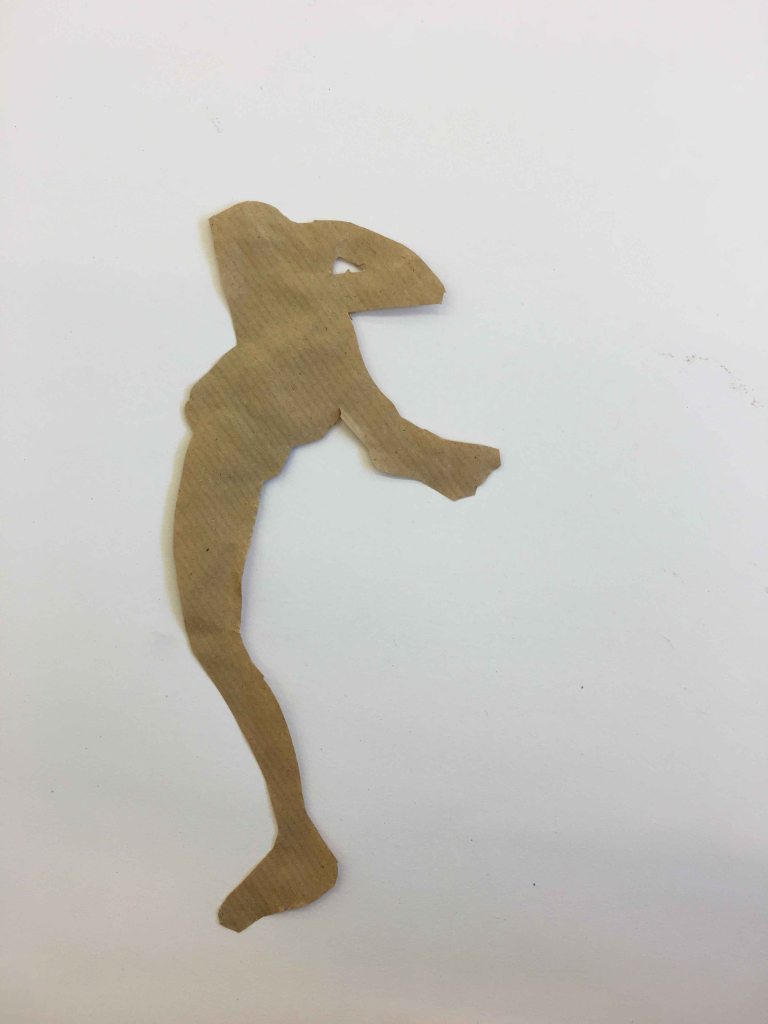
Today our tools were scissors and graphite powder- which I had never used before , so this was really interesting.
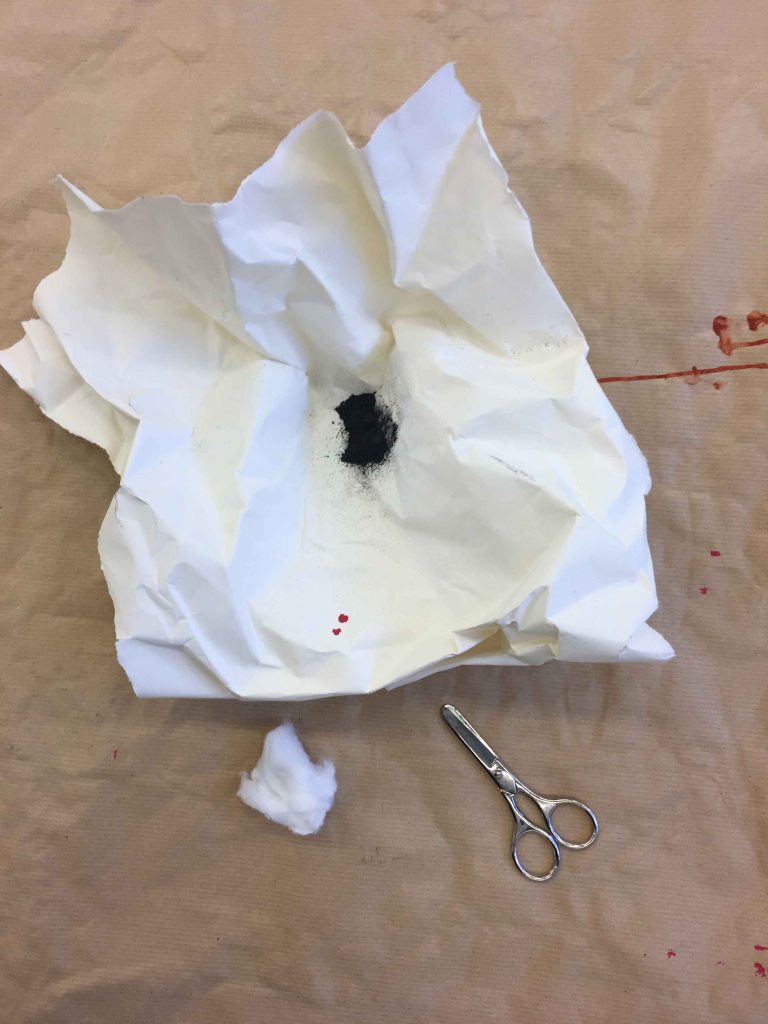
Here we “draw” the figure with the scissors directly- without any initial pencil drawing to cut out. It felt incredibly difficult to keep anywhere near a realistic figure.
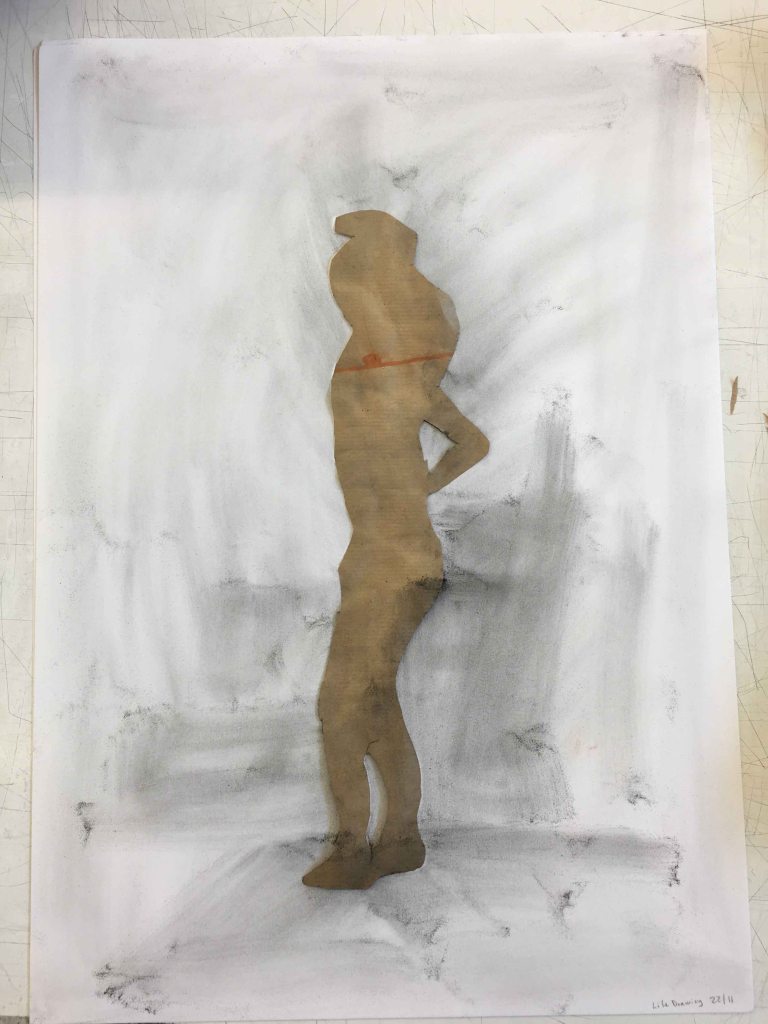
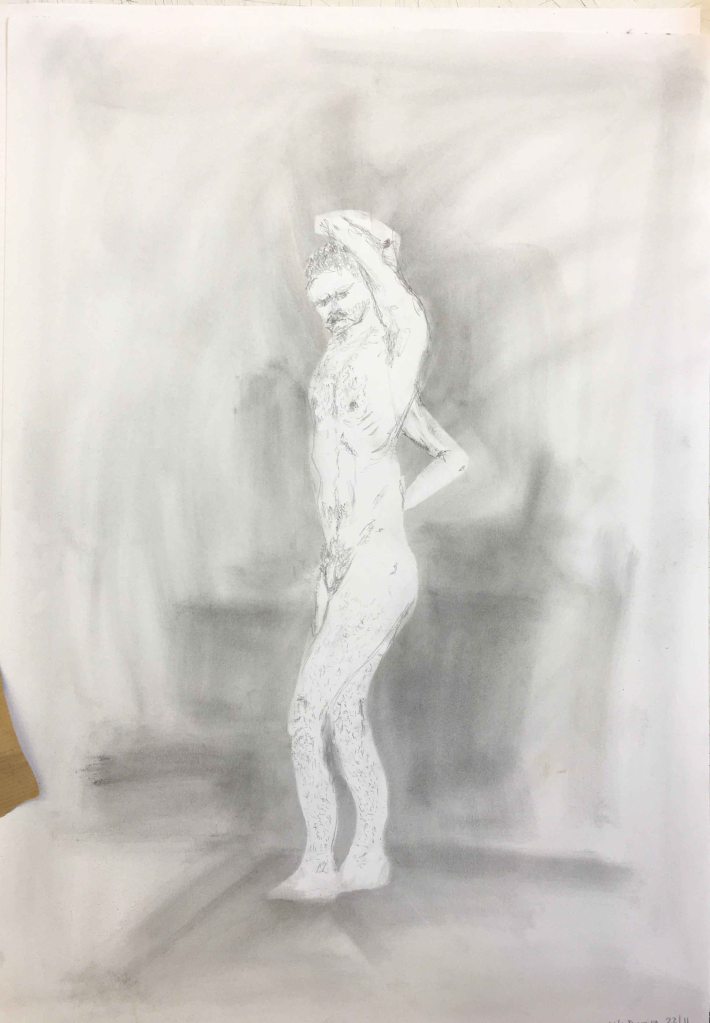
We then place the cutout on a white A2 paper and rub the graphite powder around it with a cotton ball. Finally, for the first pose, we added some detail and inner contours with a pencil.
Next, the model took three different poses after each other, that we cut out and combined on the same page, using the graphite powder.
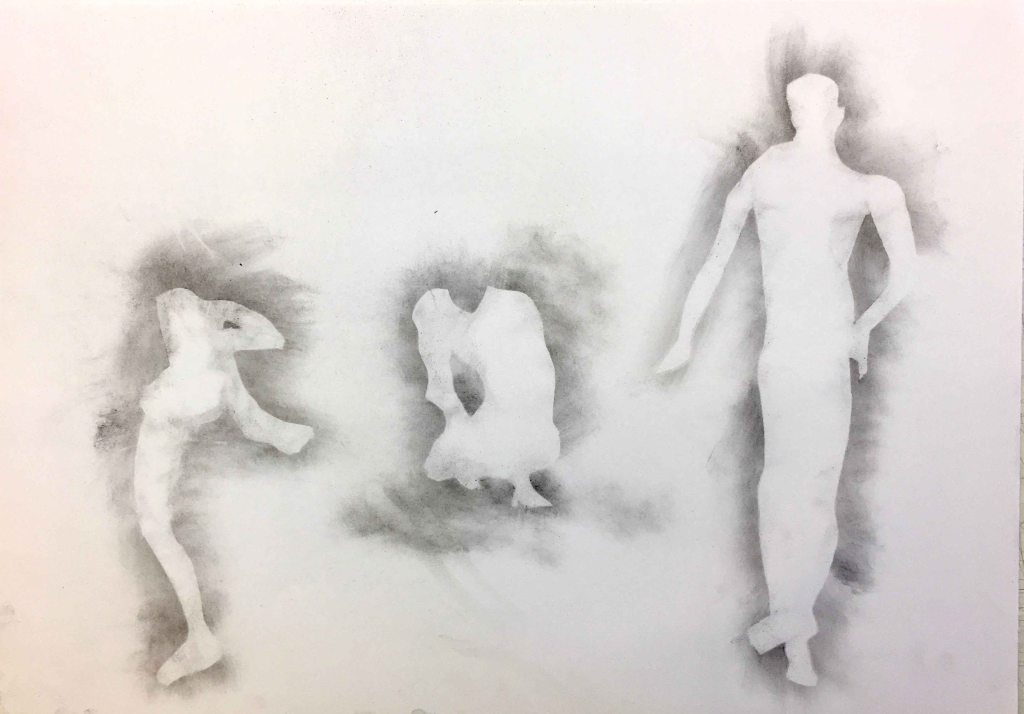
We were then invited to use either the positive cutouts or the negative shapes left on the paper, to complete the page with repetitive shapes. I am pleased with the final result, which is a first on this course 🙂 This was a fun method of drawing that I would like to come back to as well.

29/11/2019
In todays lifedrawing sessions, we are using oil pastels on the habitual A2 paper.
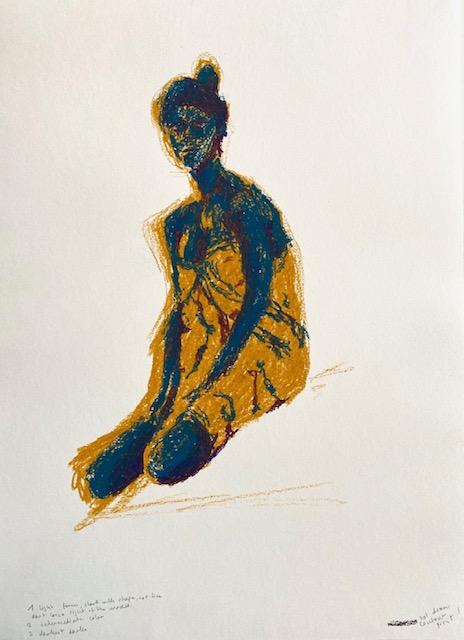
We started by drawing the figure as a whole spot in a darker colour, again with strictly no outer contours to start with, just a blob that evolves from the inside out. Again, I am faced with seeing how attached I am to my constructive skeleton and outer contours!
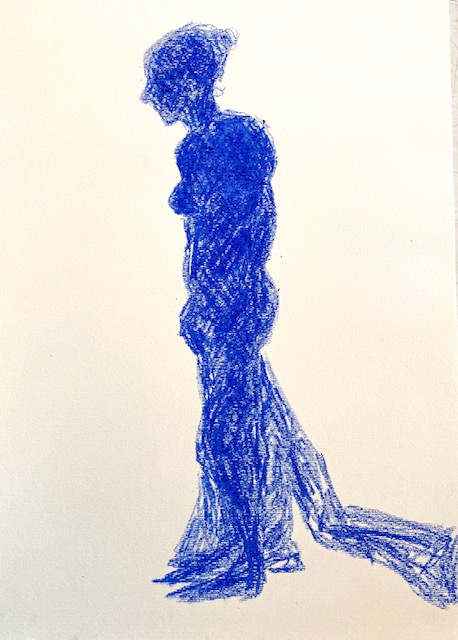
Then we choose a lighter colour, and drew in all the lighter places on the figure.
I am definitely struggling with proportions, but enjoyed the combination of oil pastels.
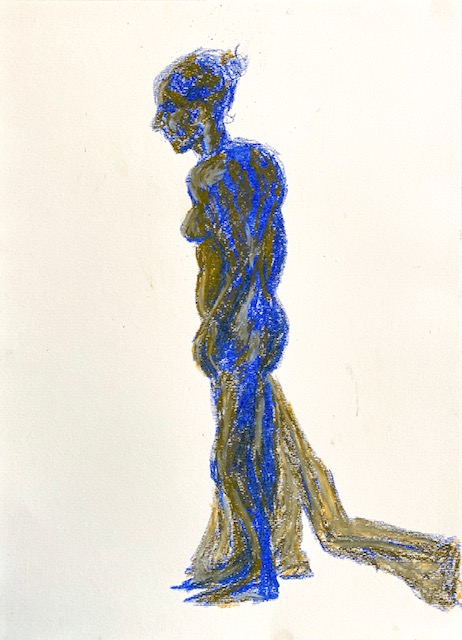
For the second pose, we inverted the process by starting with a lighter colour.

Then we filled in the darker parts with the second colour.
Oil pastels is another media that I would like to experiment more with, so this was a good reminder.
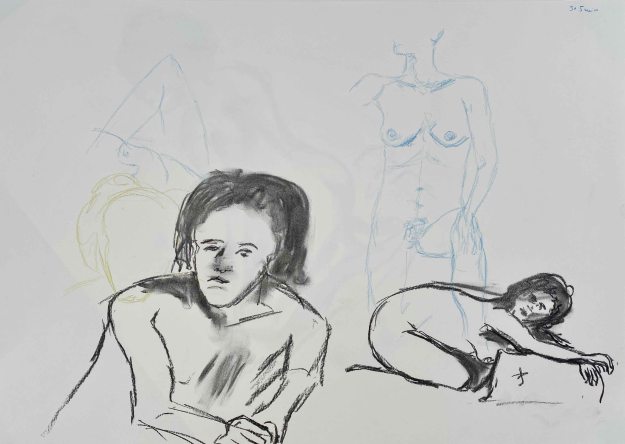
3/12
Todays class completely killed my self confidence. We went back to the simple HB pencil and the challenge was to draw the proportions right. I had become used to draw a lot of quick “warm up poses” and then use a “skeleton” or geometrical shapes, or the “coil method” to find the right proportions. Here we were asked to start from a limb and just follow the contours with one single line around the figure. This all extremely slowly, which went terribly wrong from the start.
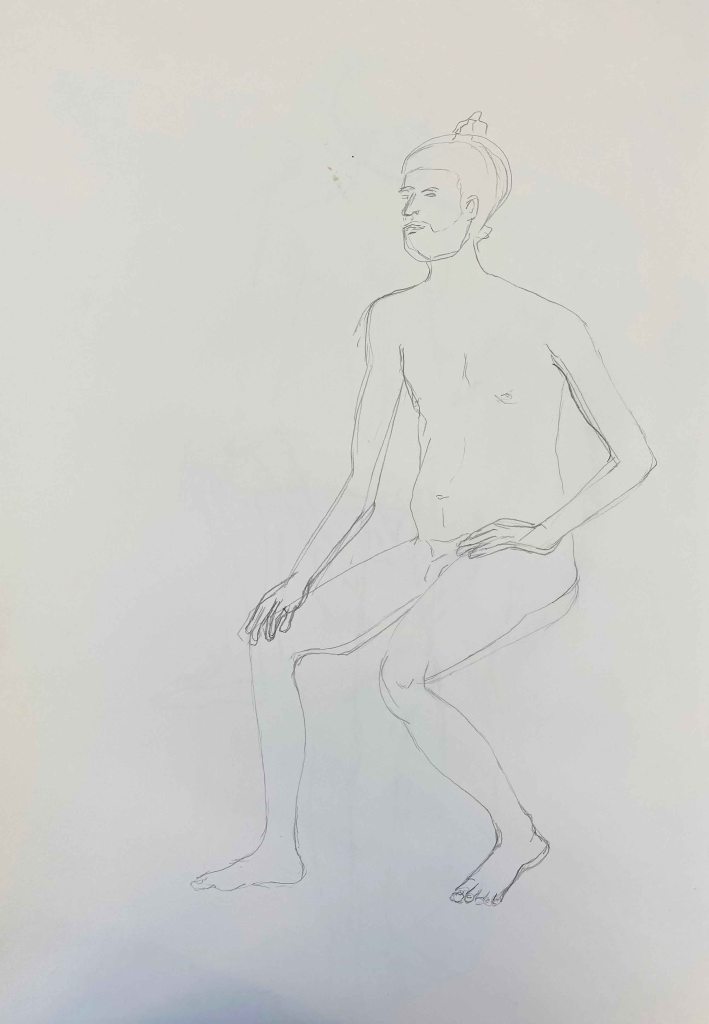
The second slow pose went even worse- stiff and wrong- my self confidence was superlow after today ‘class.
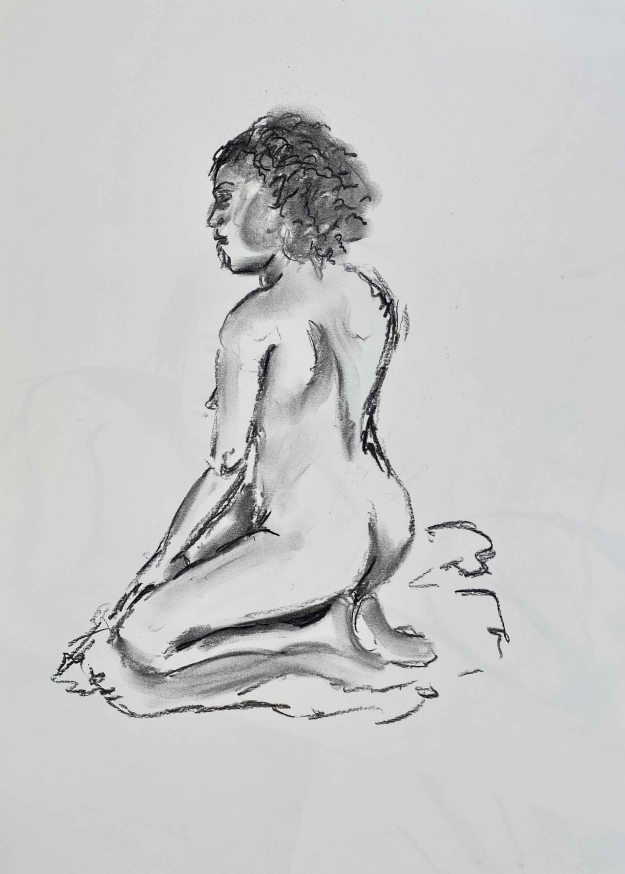
For the third pose, we used a charcoal stick. After drawing for 20 minutes, we erased the drawing with some paper, so that you could only see the traces. Then we drew again on top- “correcting” the mistakes of the drawing under.
In all, I benefit immensely from these classes, as they definitely bring me out of my comfort zone. I am missing quicker poses where I can sketch in the proportions roughly. Here we seem to draw maximum 3 poses in two hours, it is all very slow, and the slower, the worse the result it seems. It is very difficult to map in the proportions well without any type of help lines. This course really brings me to look intensely and only draw what I really see. I also like the variety of materials and methods, some of which I had not used before – like the graphite powder.
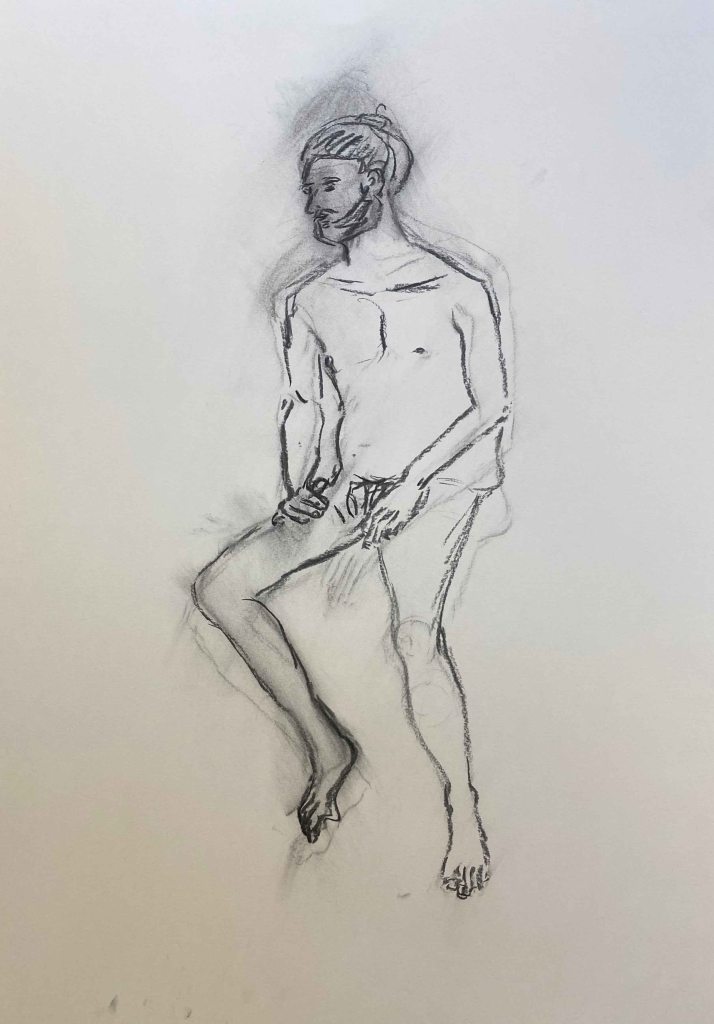
10/01/2020
After a long Christmas break, I am back to the Lifedrawing studio. Today the teacher was missing but the model present, so we were free to draw the way we wanted. I am quite sad to discover that despite really wanting to experiment, when in a slightly nervous setting , I go back to very boringly trying to draw anatomically correct with the most traditional media possible- charcoal and coloured pencils, all on A2 Canson paper.
One good thing with being free today was that we could ask the model for shorter poses though. These are five minute sketches:
We moved on to 10 minute poses:
This pose seemed very tricky to get, but I like how I placed her diagonal on the page which creates a certain dynamism.
I switched to coloured pencils for the two last poses:
I feel more confident getting the proportions right using the approach of today, but I walked away disappointed at not having been more daring.
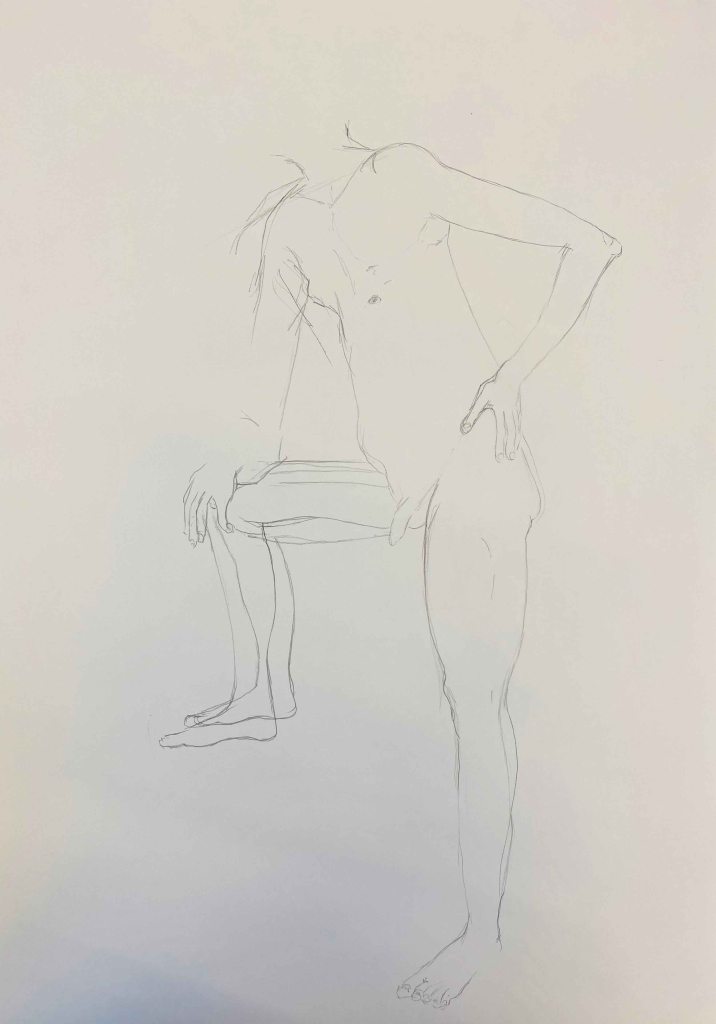
17/01/2020
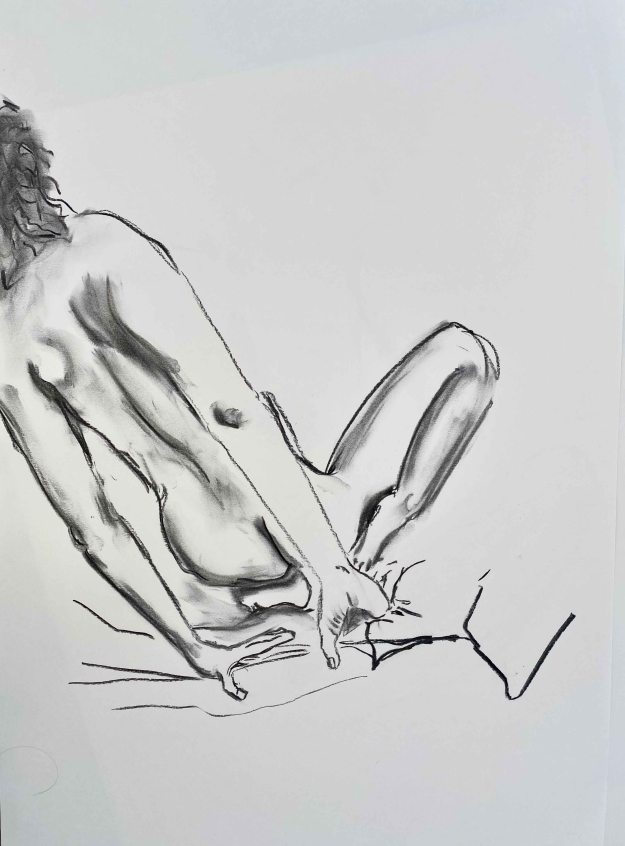
Today we had a new teacher and – surprise- we were asked to draw a very traditional 10 minute pose as anatomically accurate as we could in our chosen medium, as always on A2. I am using Indian ink with a thin brush.
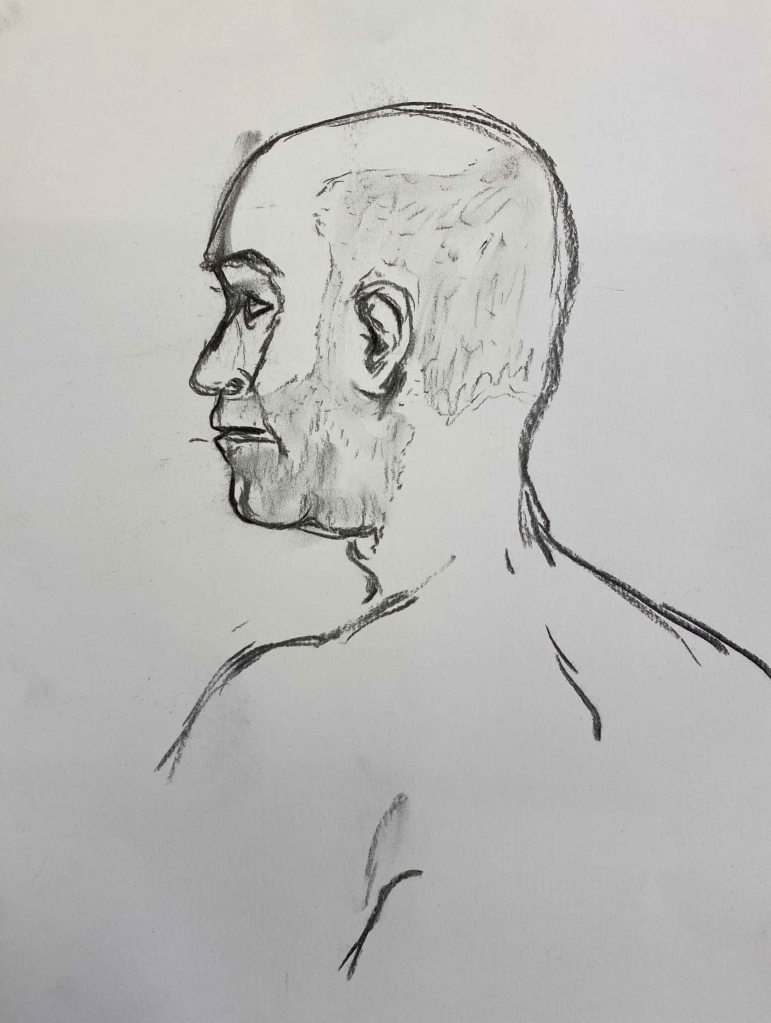
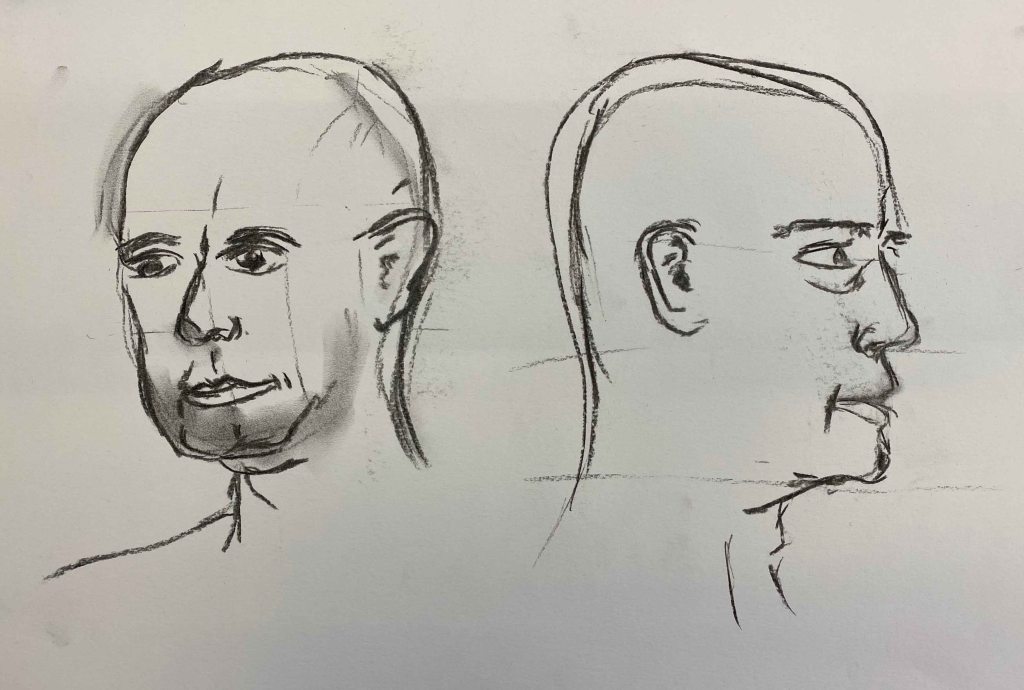
After a walk around the room and looking at our drawings with a disappointed look, the teacher instead asked us to take our blocks and move around the model, only drawing the head, again focusing on anatomical correctness. (Charcoal sticks on A2)
Then we switched to drawing only the torso from different angles on the same page:

I was really struggling with this.
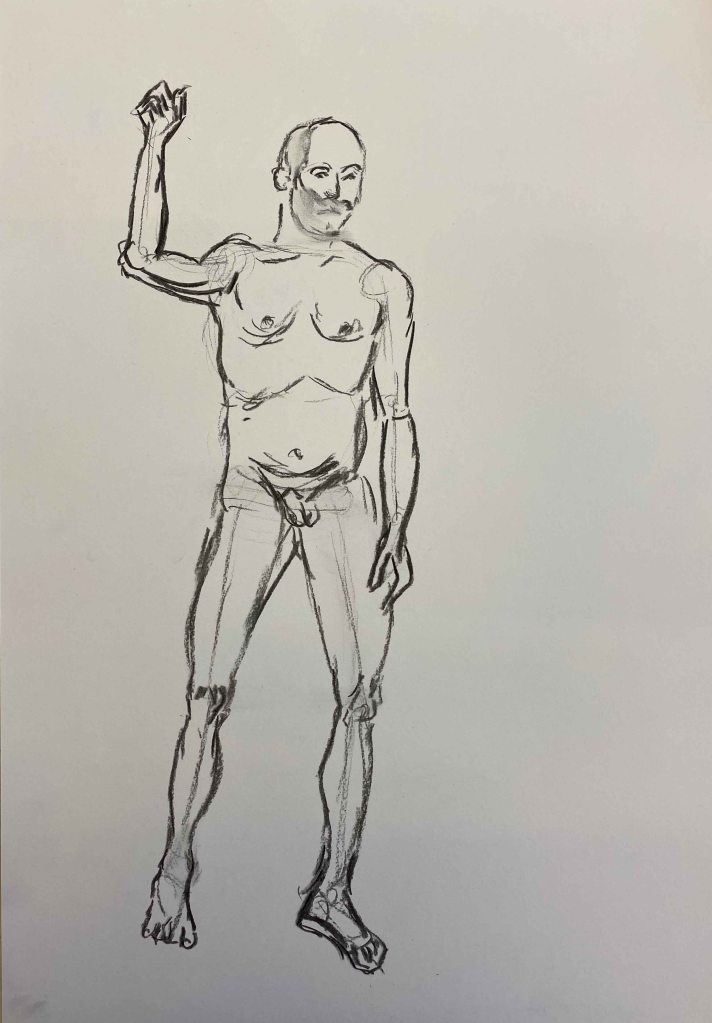
Then, we went back to our places and used charcoal again for a whole body in a classical pose, where I messed up the raised arm.
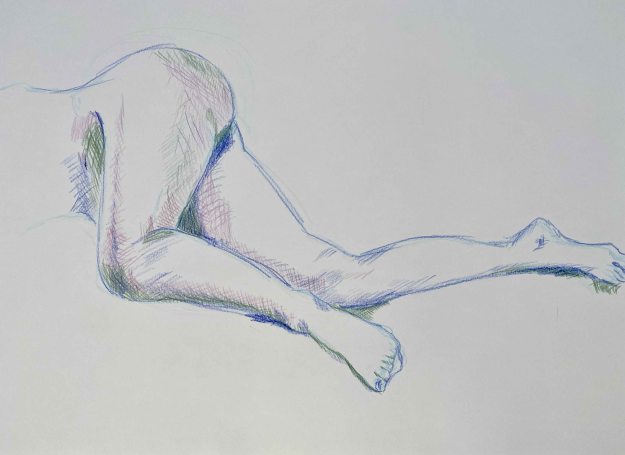
Finally we were asked to do what we wanted and I used a more fluid approach in ink for a lying pose.

Today I finished very disillusioned about my abilities. The rotation of different teachers and media and approaches is really good though. When I signed up for these classes, I was just expecting the access to a model, which is what lifedrawing classes I had experienced before. Here we are challenged to try different approaches every time, my self confidence is on a rollercoaster during these classes but I learn a lot!
