D2 manual: “Aim: A significant period of western art history has been dominated by the attempt to create a believable illusion of space and depth in two dimensions. The idea of the picture frame as a window onto a simulated vista has long been regarded as just one of many possible interesting routes but the relationship between drawings on surfaces and drawings of surfaces is still absolutely vital and many artists make use of that interplay.
The description of space, depth and volume relies on depicting the way in which light operates on objects and the change in tonality that this produces. In the pitch dark, we see nothing. Natural light tends to fall on an object from one side and the sense that we make of the shadows it casts is how we judge three dimensions. The human mind is sophisticated at reading tone, which makes it hard for an aspiring artist to create a convincing visual illusion – the viewer is not easily fooled.The first step for any student is to correct any over-reliance on outline. What we translate as an outline is actually just the moment that something disappears from view – either because something has come in front of it or because its surface has changed direction and slipped from view to reveal what is behind. Either way, being able to sit the two planes next to each other without ringing one of them with a black outline will immediately give a sense of volume and space. An outline pulls us back to the picture plane. This is not a problem in itself but, as it is so often used by students, use this project to try not doing it.
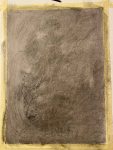
Method: Cover a whole sheet of paper with charcoal so that you have a blank black rectangle. Make a drawing from a subject of your choice by drawing into the charcoal using a rubber or selection of rubbers. When you’ve worked into the charcoal for about an hour using just a rubber (depending on how fast you work), go back to your charcoal and begin to redraw in darker tones using the side of the charcoal. Continue in this way using the rubber as a white to the charcoal’s black and develop the drawing until you’re happy with it. Try to avoid using outlines – instead, use sweeps of the rubber or the side of the charcoal to build up patches of tone. If you do use an outline, look at the two neighbouring tones, decide which is the darker and then blend the outline into that one. Bear in mind that as you move along the object’s silhouette, the relationships might change and the outline might switch allegiance.
I am approaching this project while visiting my artist friend Constanca in her studio and we use this method to draw a portrait of each other while drawing.

We only have medium size willow sticks of charcoal and a simple eraser available

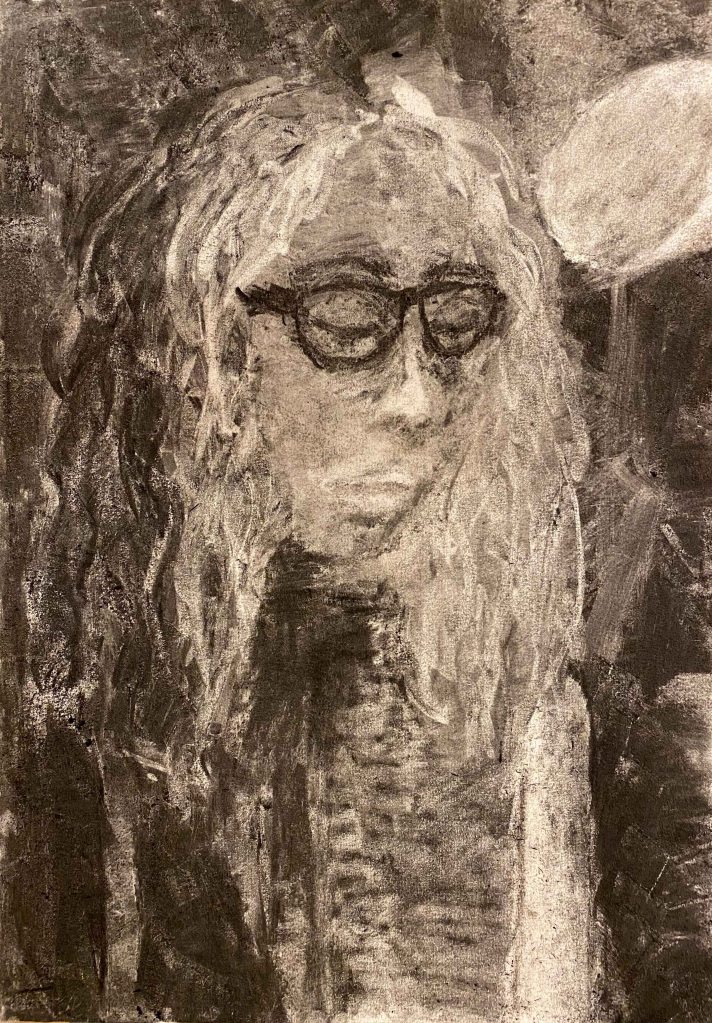
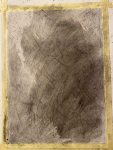
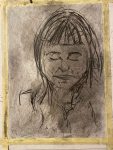
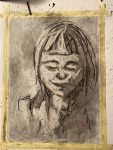
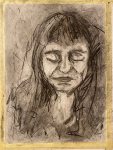
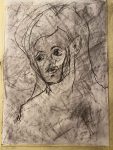
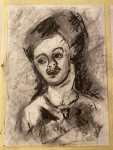
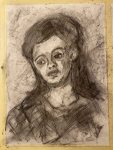
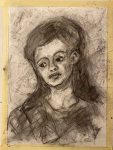
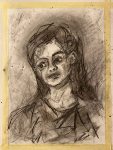
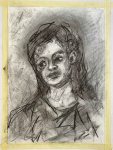
This is my final portrait of Constanca, and a big lampshade behind her, after much rubbing and filling in.

I am not happy with this drawing, it was hard to capture any likeness while she was moving and this drawing does really not make her beauty any justice. I am also annoyed at myself for enjoying working in shade only, and then still having the impulse to add line at the very end.
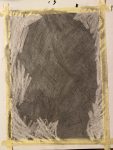
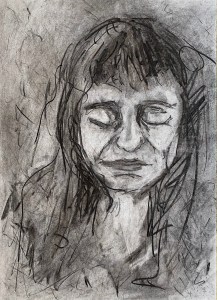
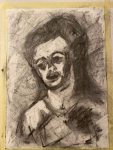
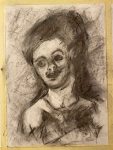
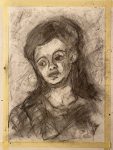
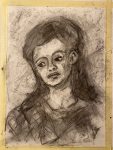
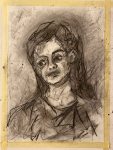
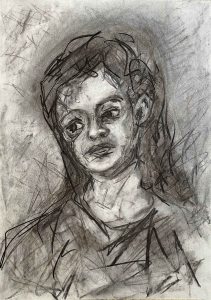
This is Constancas portrait of me:
I felt very happy at “rediscovering” charcoal through this project, and it was wonderful and playful to share the experience. We will definitely draw more together in the future!
I aquire a few more specific tools for this kind of drawing for my second attempt in my own studio:
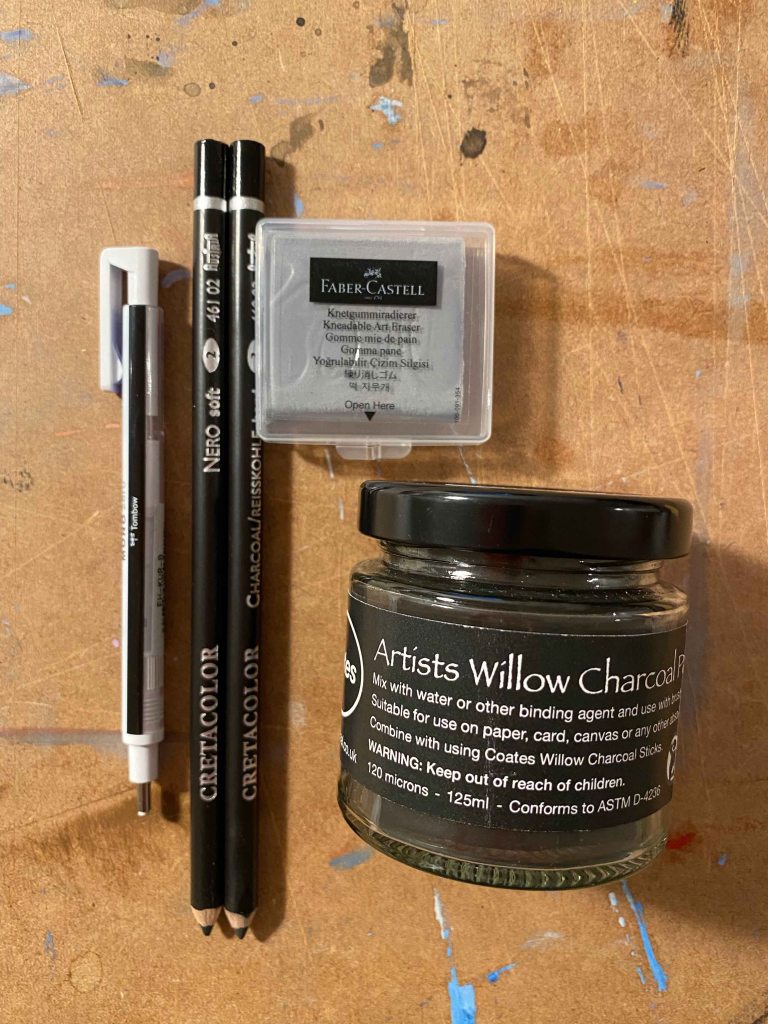
I was excited to try the willow charcoal powder, but find that when using it dry, I can not reach the depth of dark as I can with using the sticks- even if applying many layers:
I am reading the book “that which is not drawn” with conversations between William Kentridge and Rosalind C. Morris. (Kentridge, W & Morris, R.C (2014). That which is not drawn. India: Seagull Books.)
William Kentridge works in large charcoal drawings which he erases and transforms constantly, taking photos to document each step and then creating stop motion animated films. He is depicting transformation.
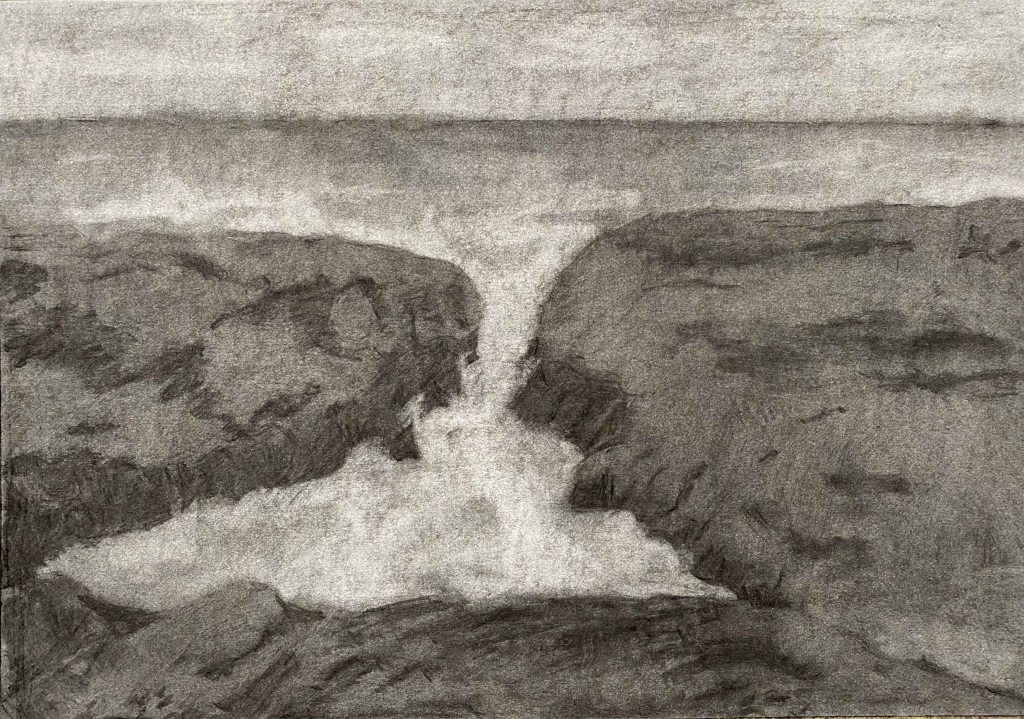
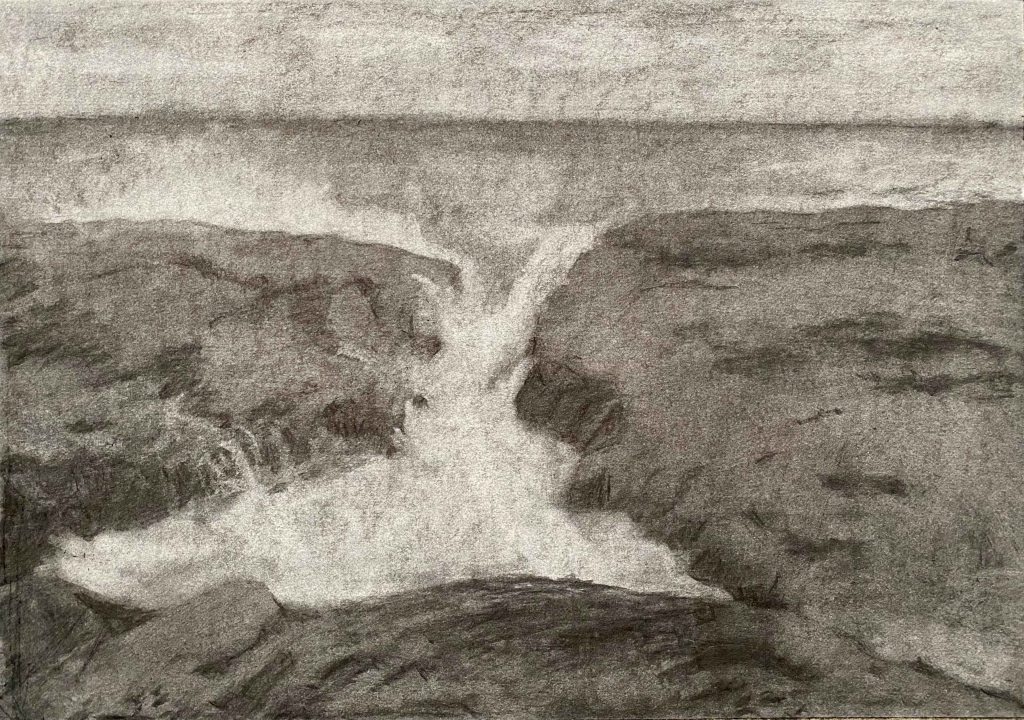
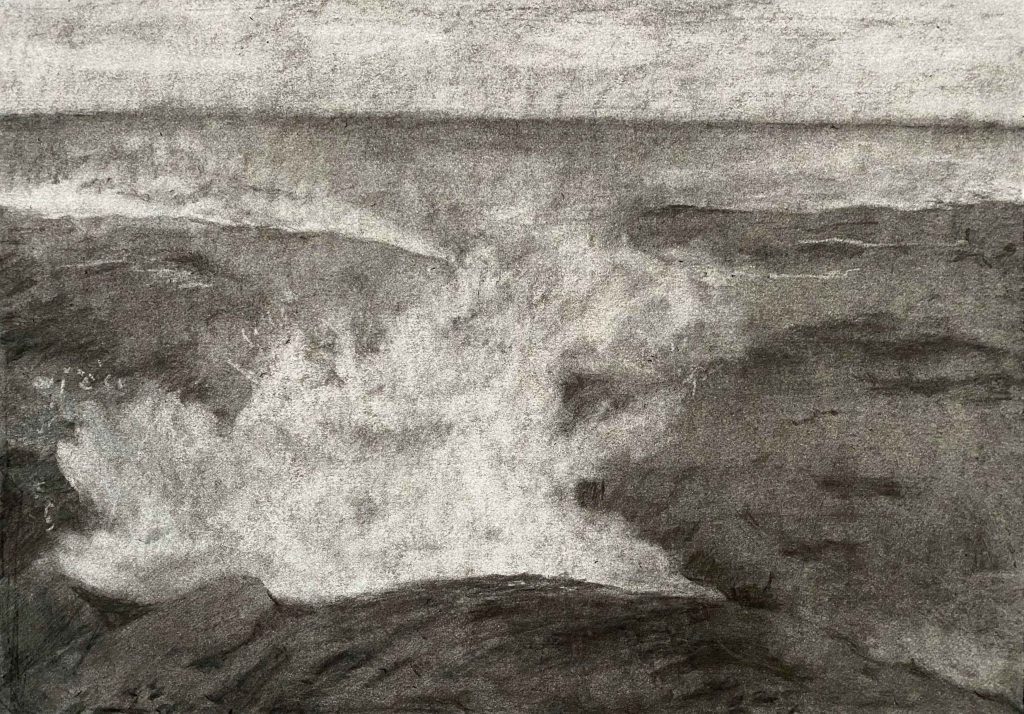
I am really excited to try this out with this project. I am going to use a moving ,crashing wave as my subject, to play with the eraser to create more or less foam on the crest of the wave, without it being a form that has to be too precise to feel right.
I start by trying out different papers:
Canson recycle, Strathmore watercolour 300g and Smooth surface cartridge paper. I had the idea that a rougher paper would give a better tooth and result, but actually the smooth cartridge paper allows for whiter erasing which is a main advantage.
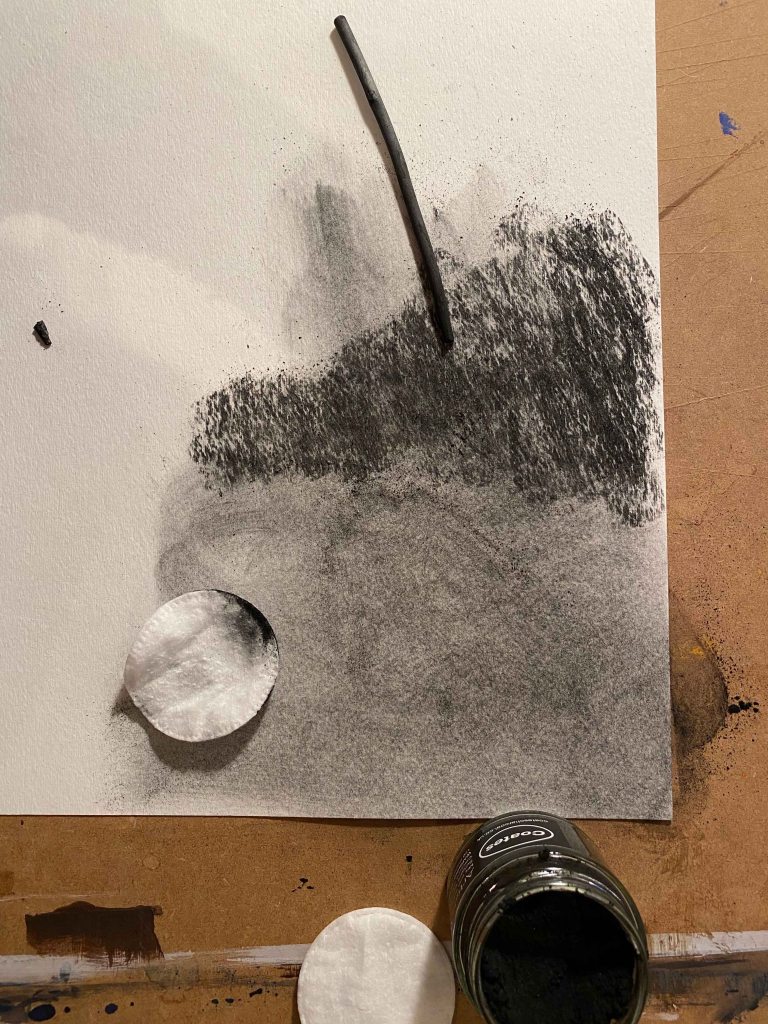
I also try out the different marks my new eraser tools can achieve:
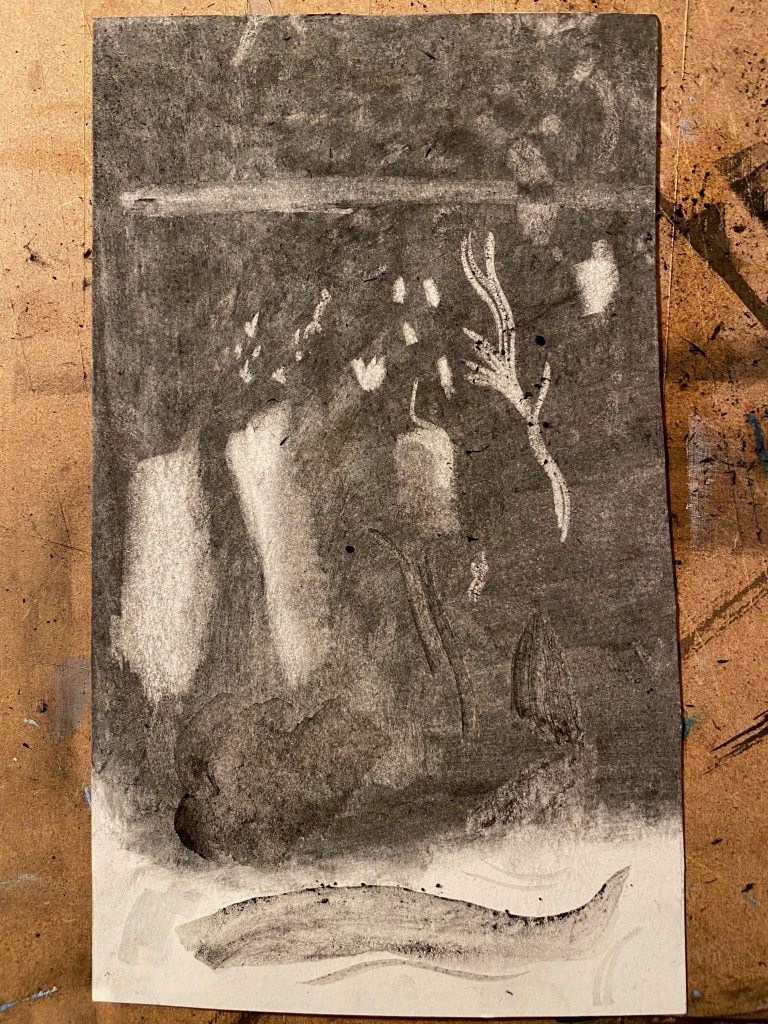
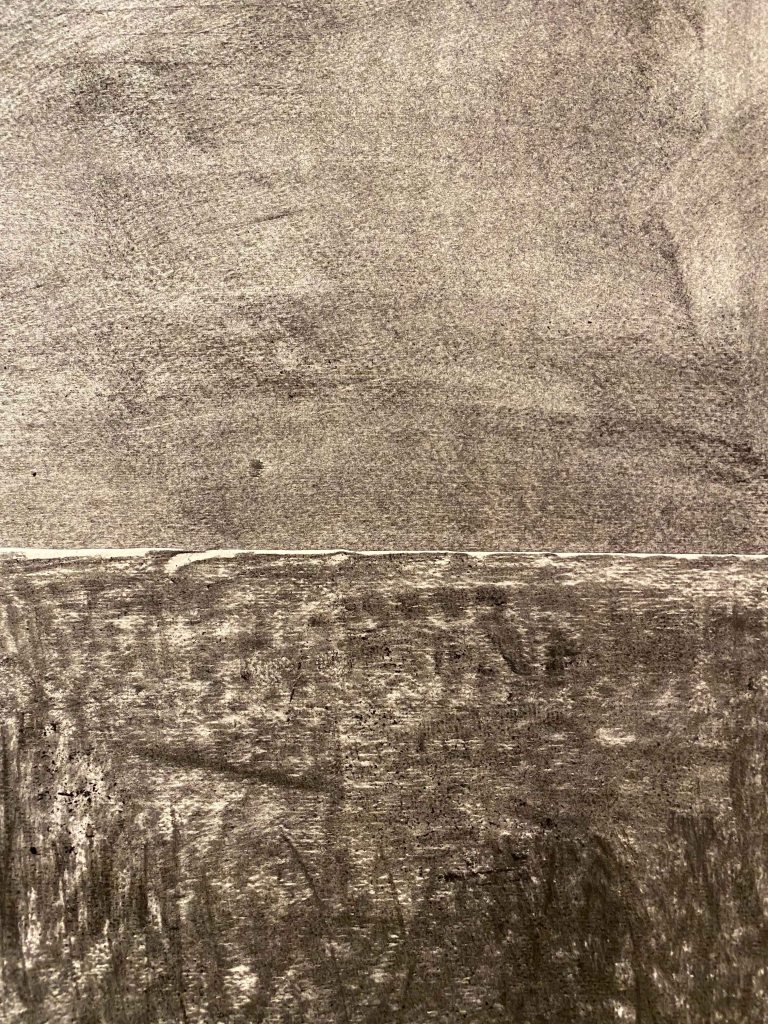
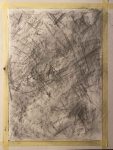
Preparing my smooth cartridge paper A3 with a layer of charcoal and starting to erase the sky:

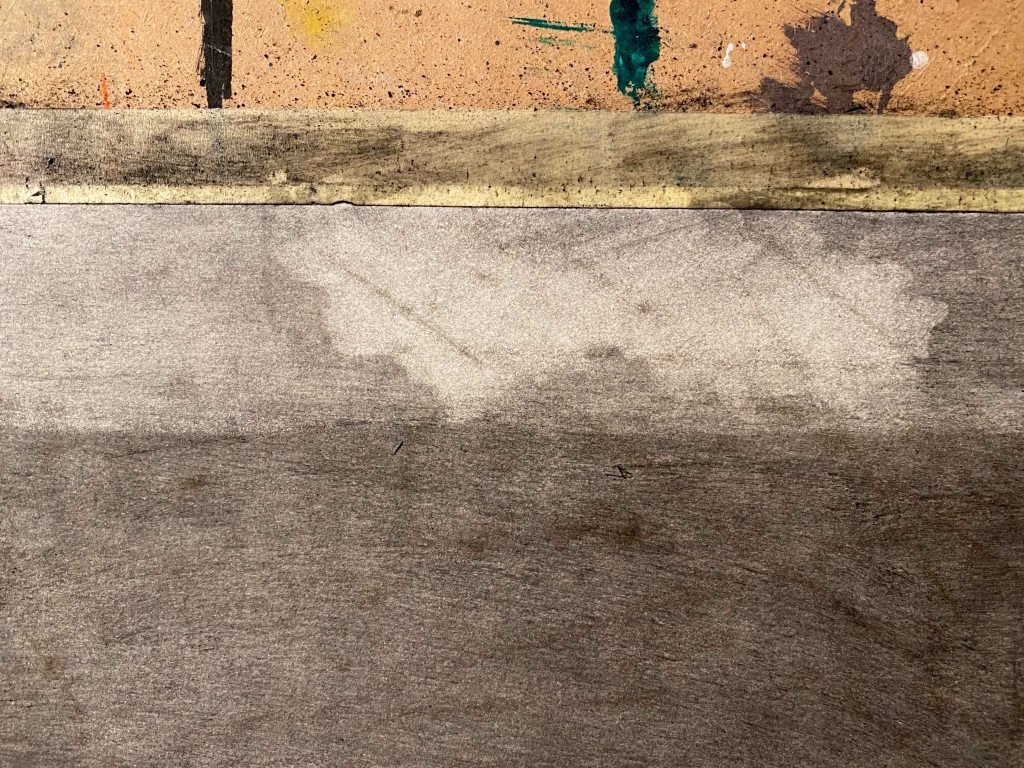
Here I encounter the problem, that my board under the paper has lines from previous painting that show up as marks through the pressure, that are then not possible to erase- as seen above.
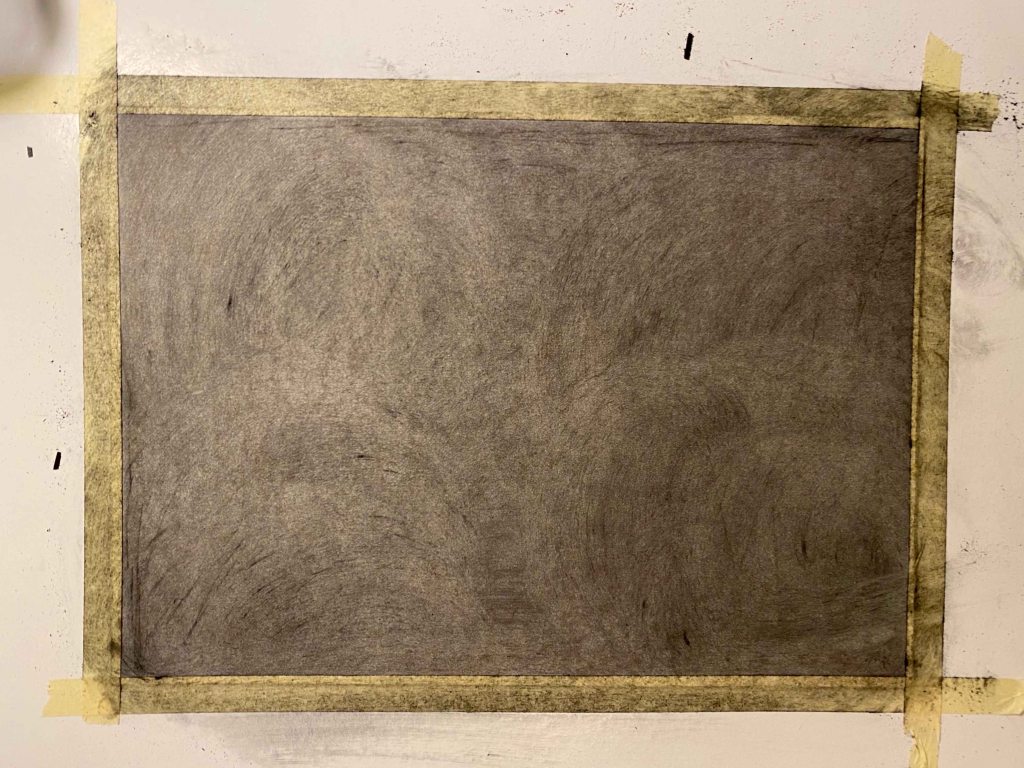
New start on a smooth board:
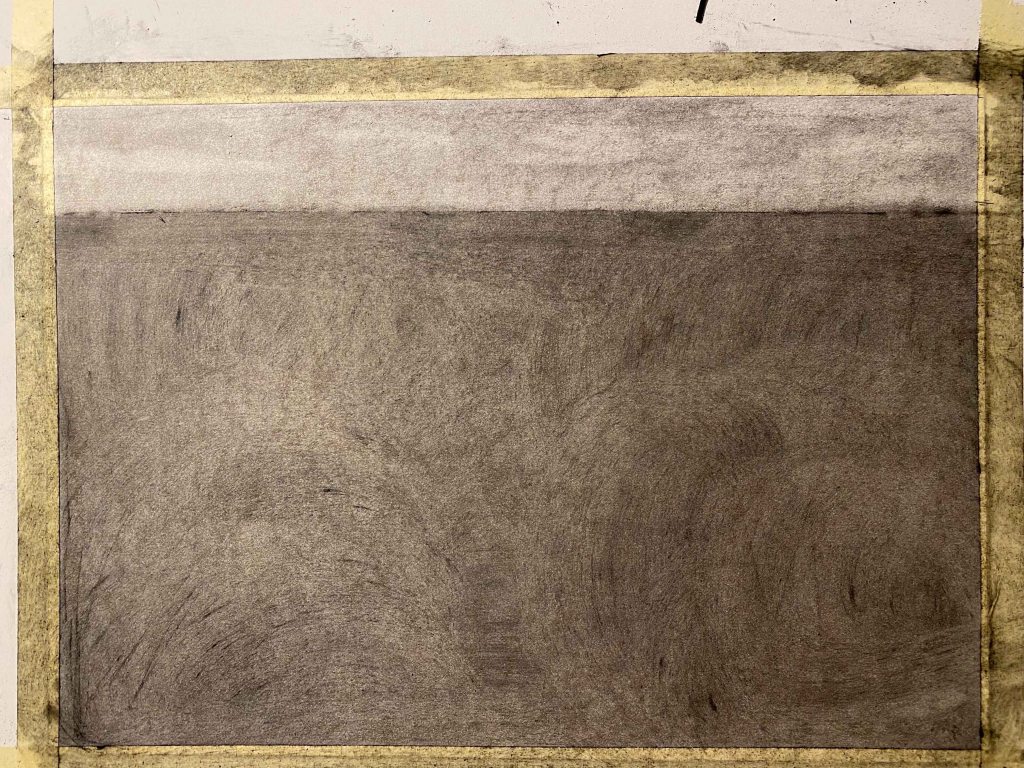
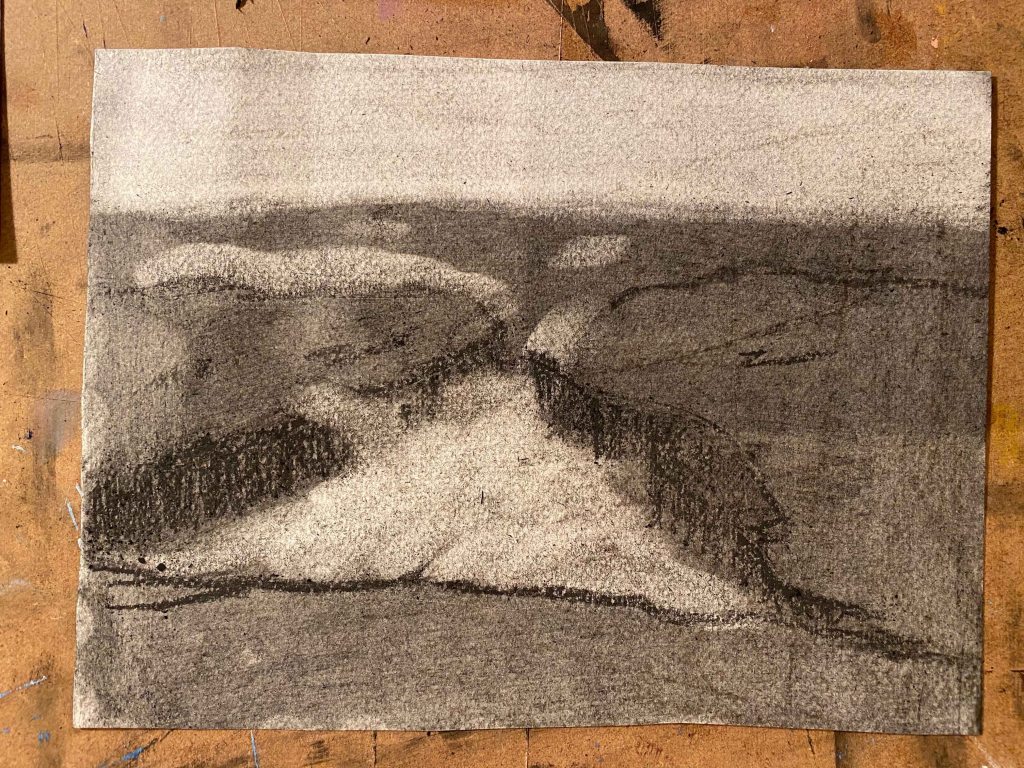
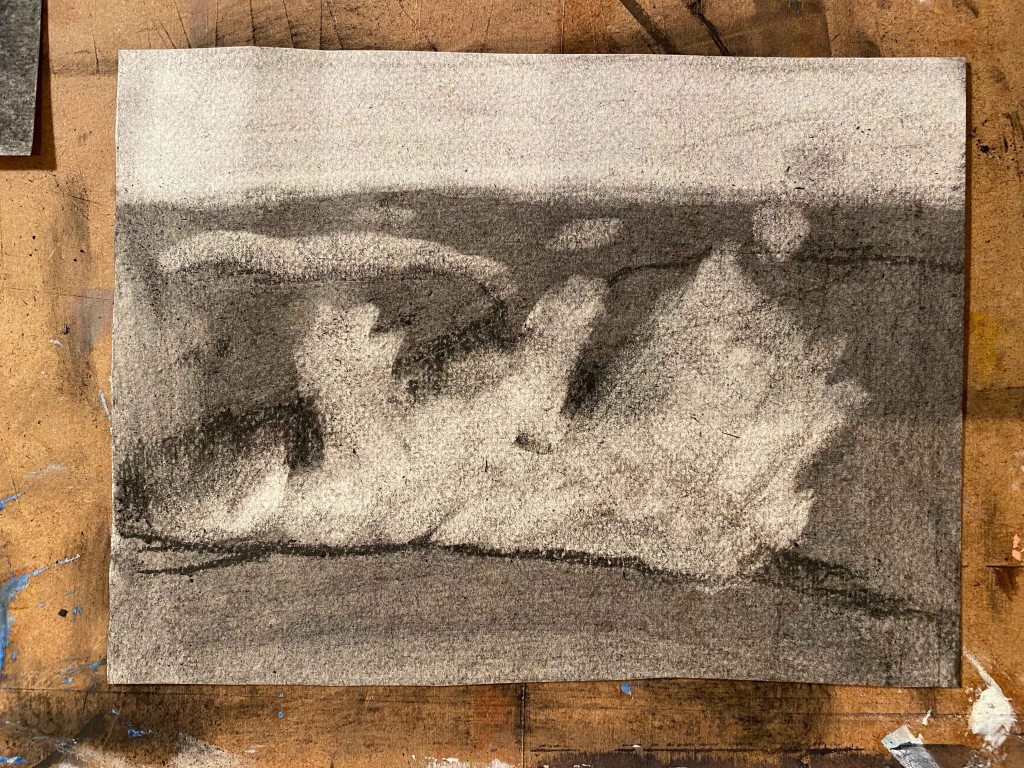
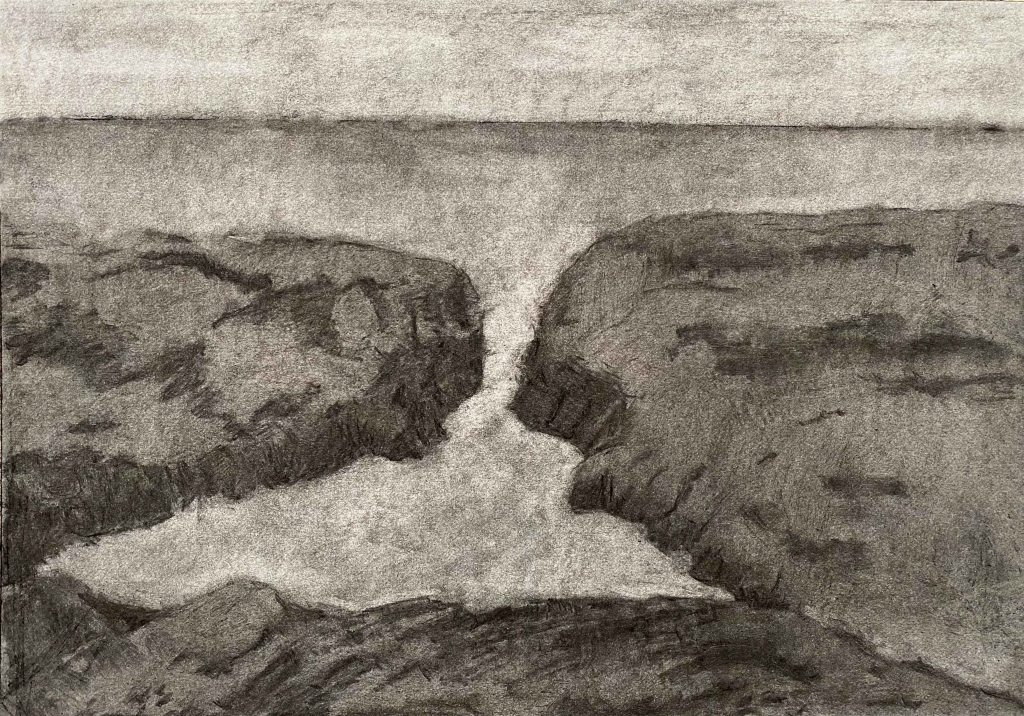
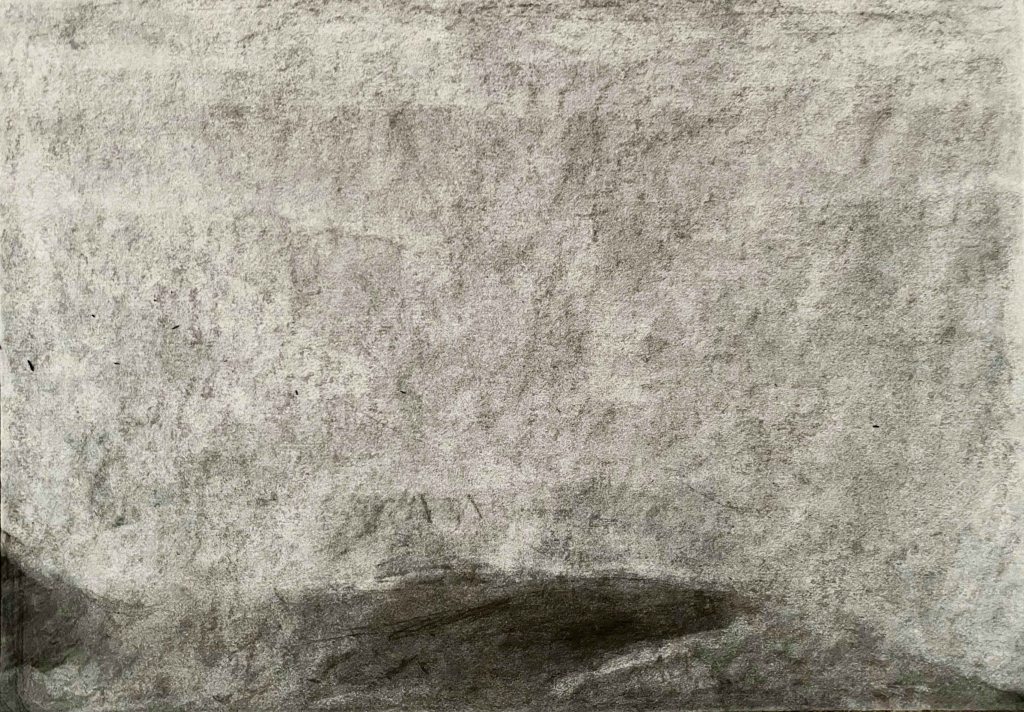
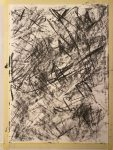
I continue erasing and smudging and filling in til I have a sea landscape as a starting point:
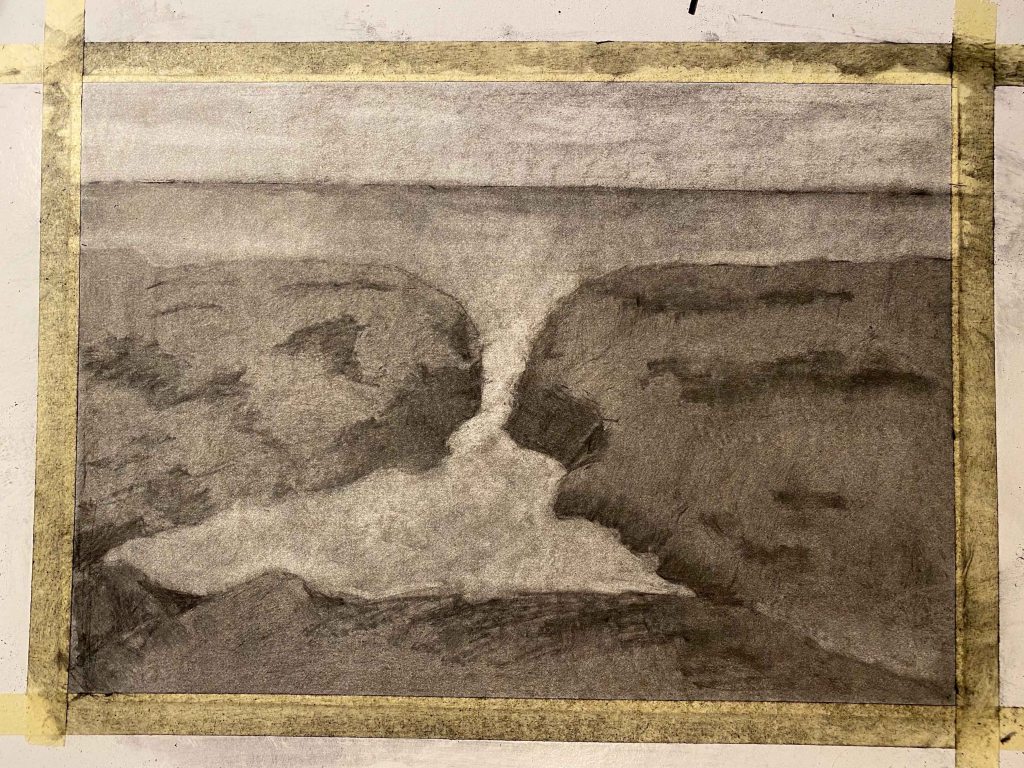
By now it is night and as photography is a main part of this project, I decide to leave the drawing til daylight:
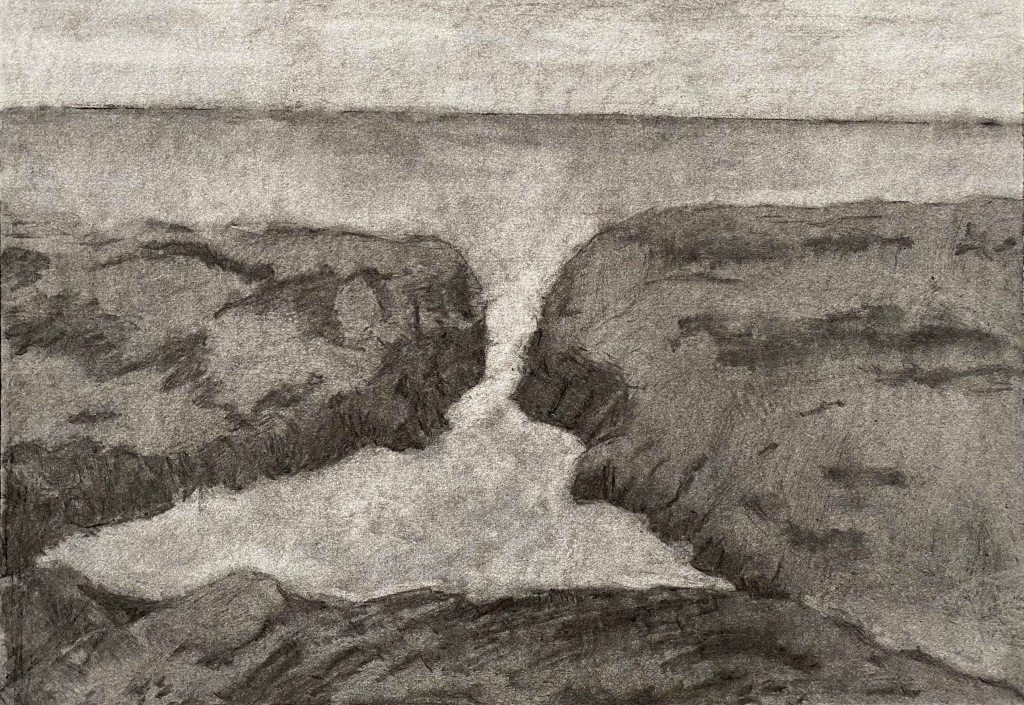
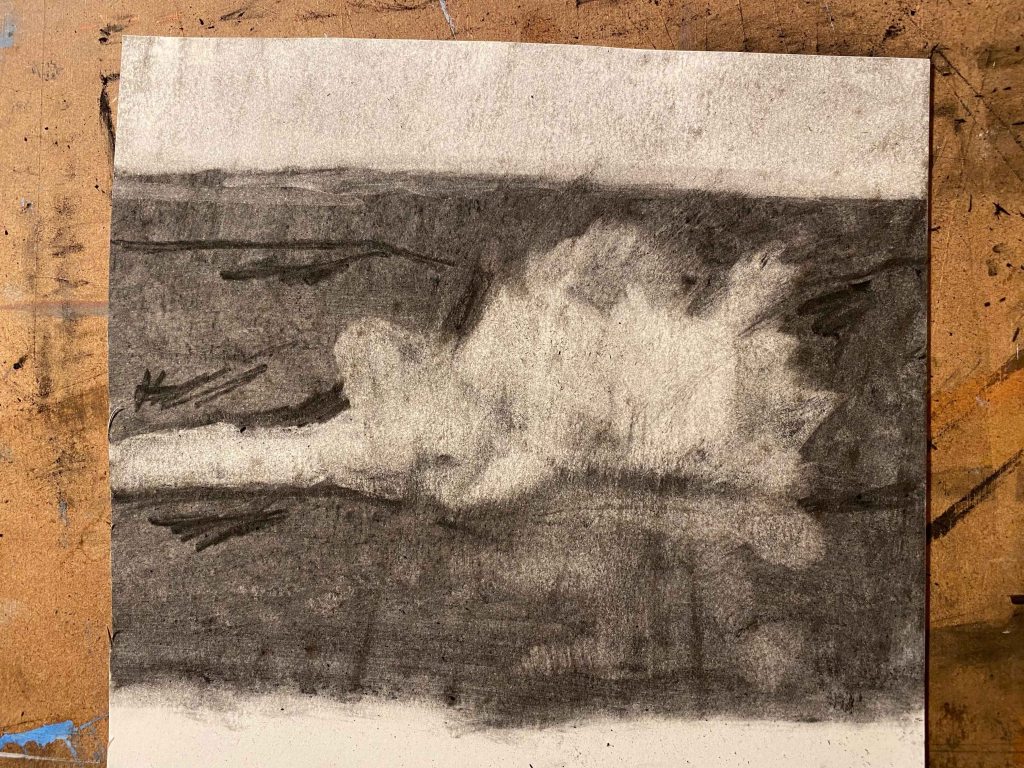
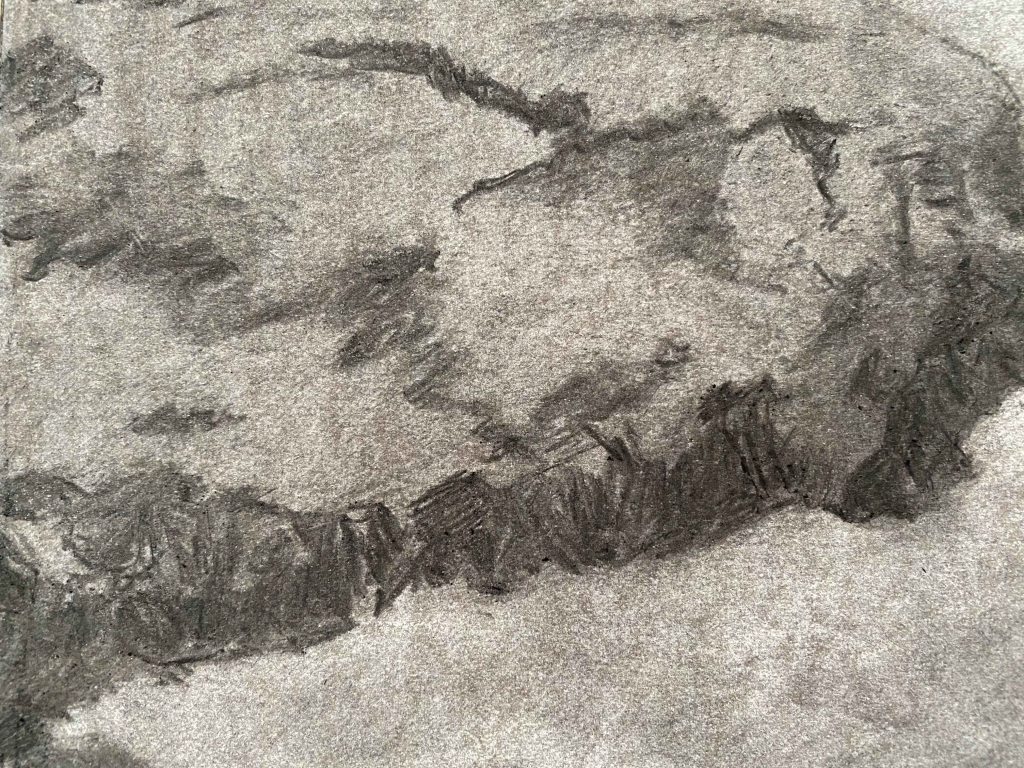
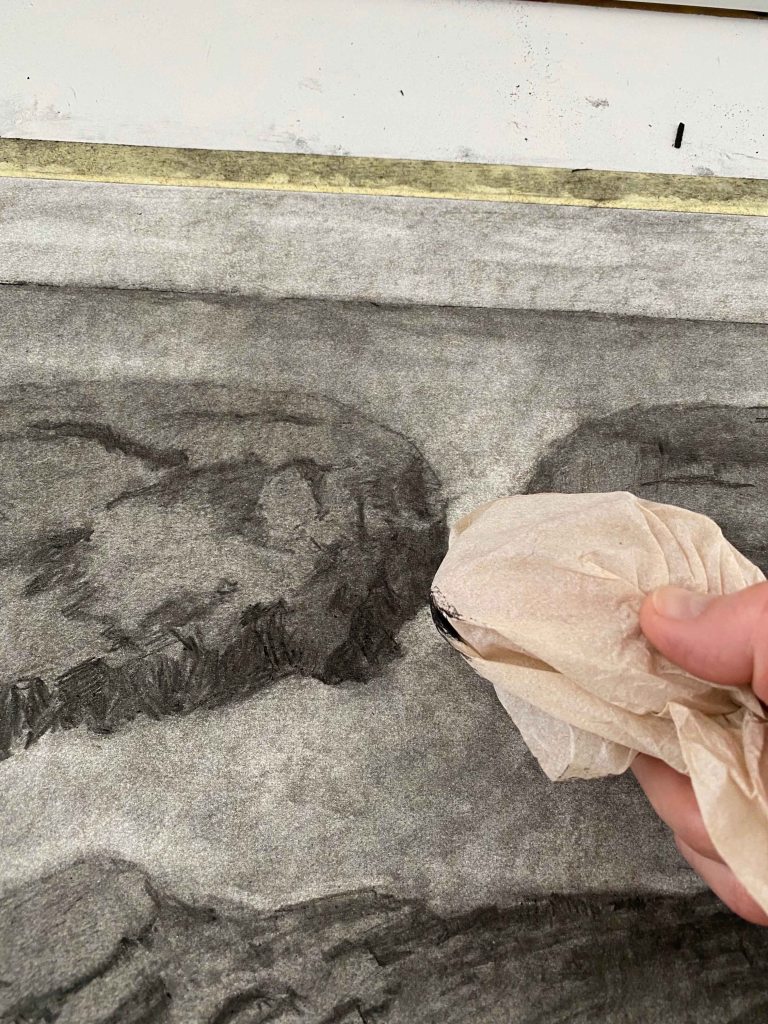
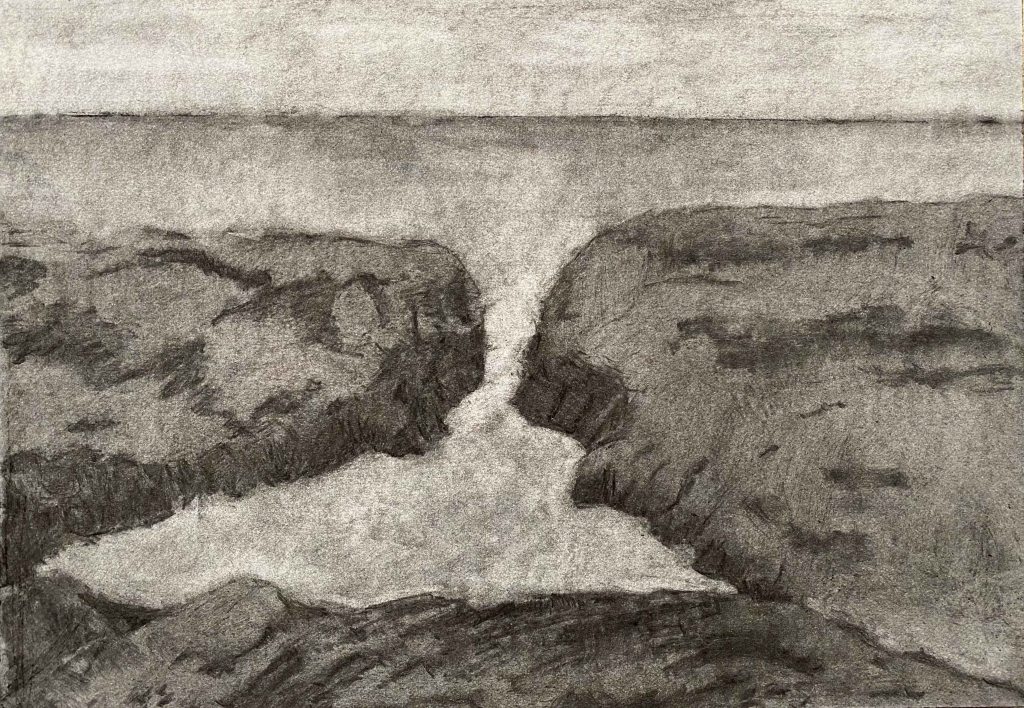
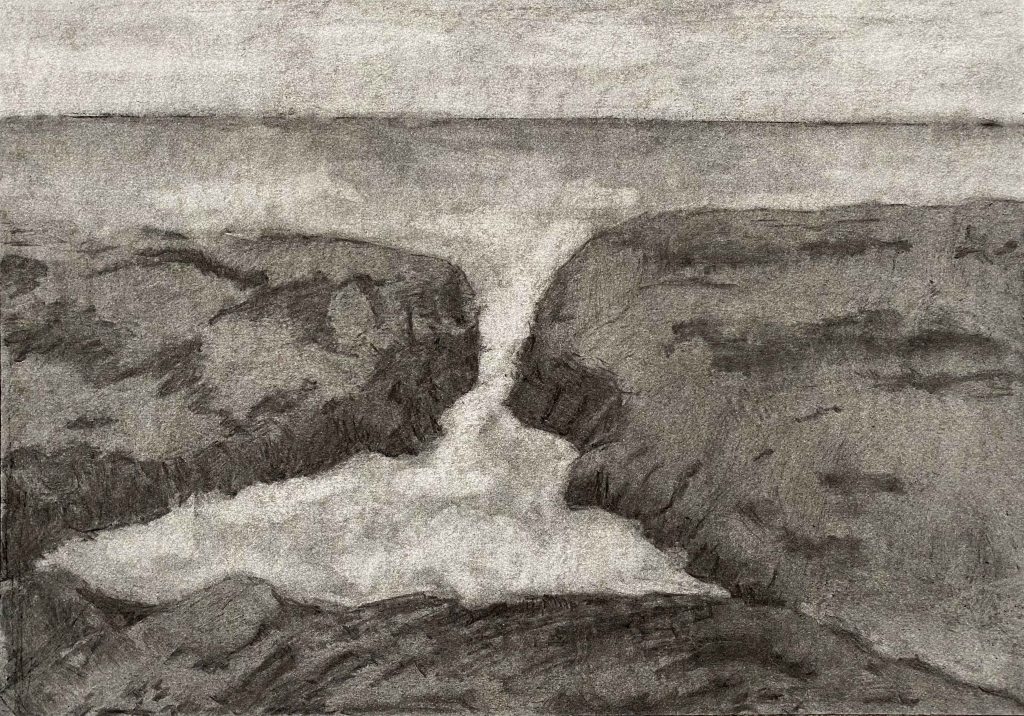
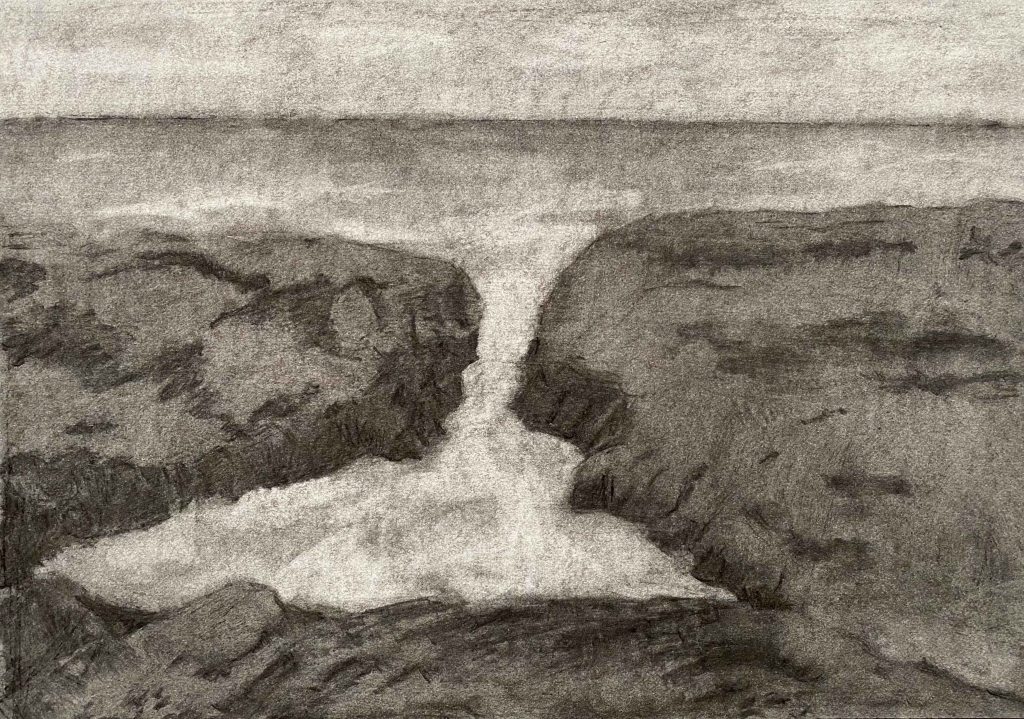
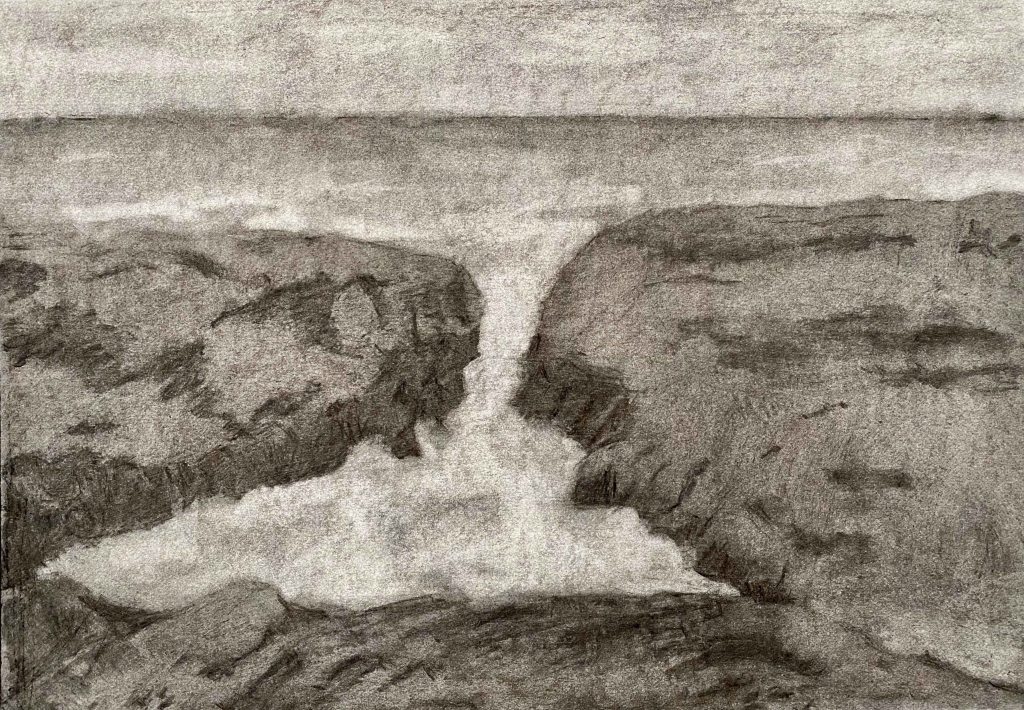
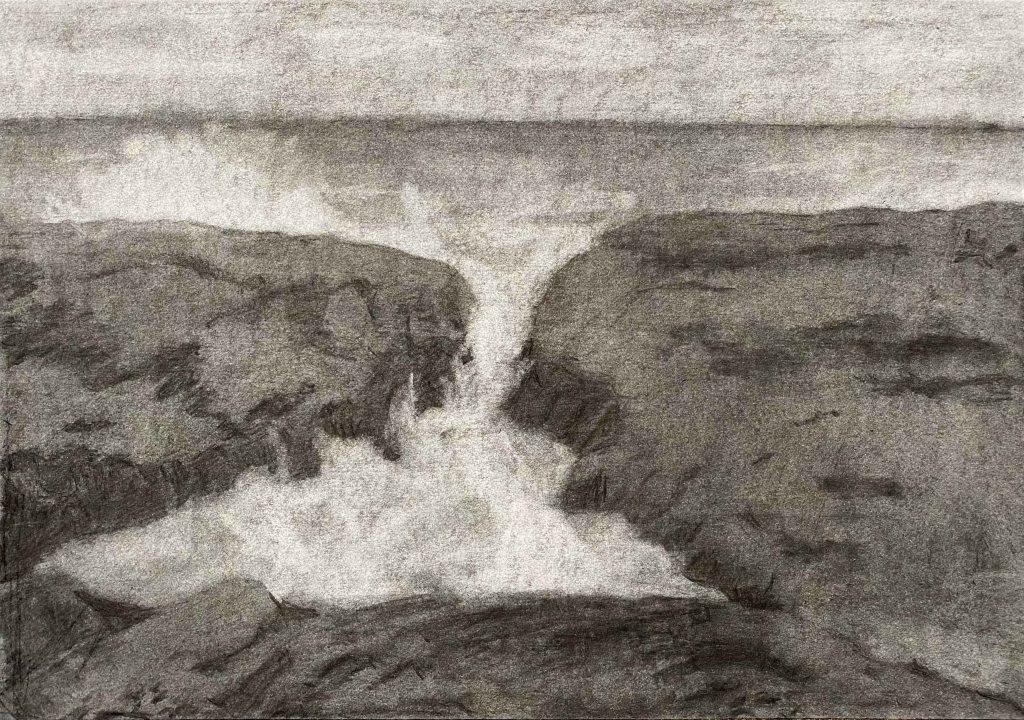
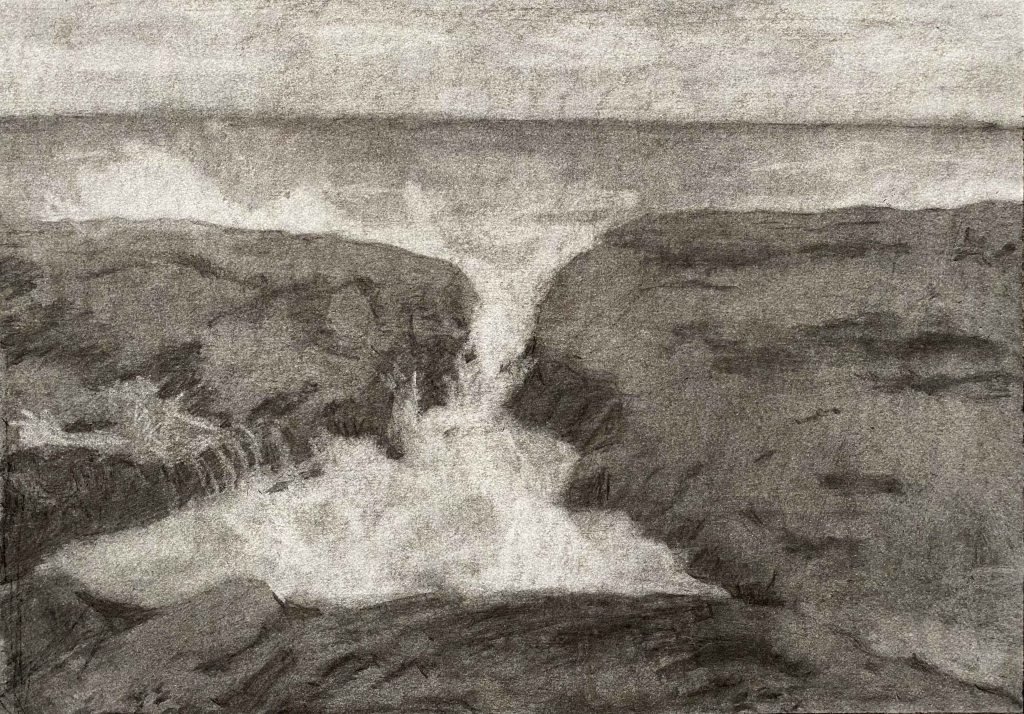
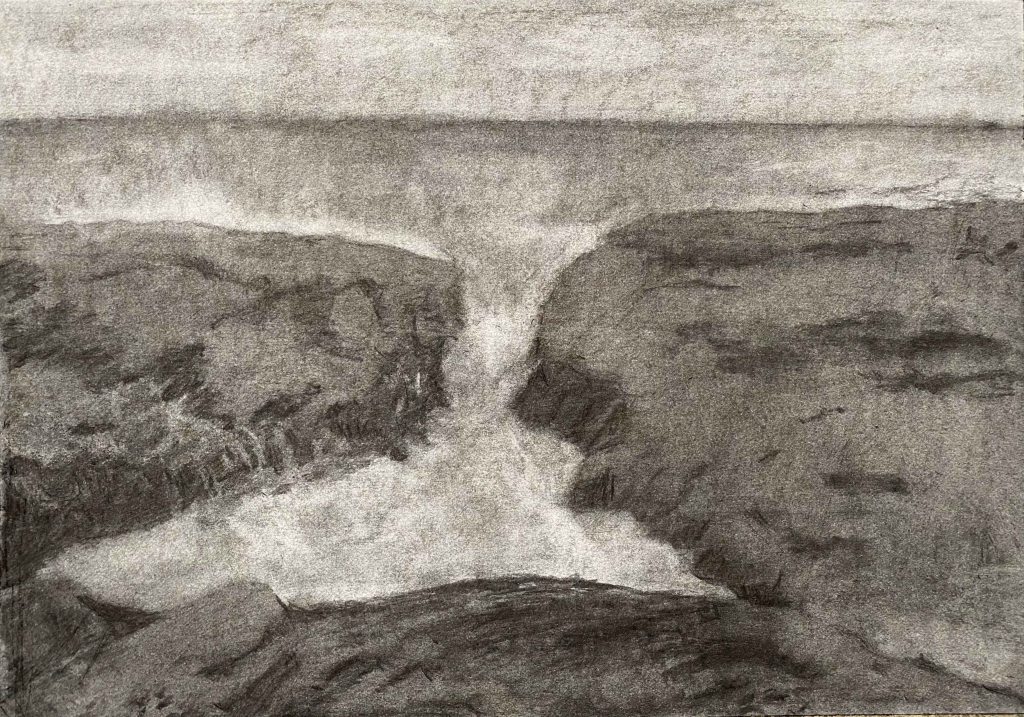
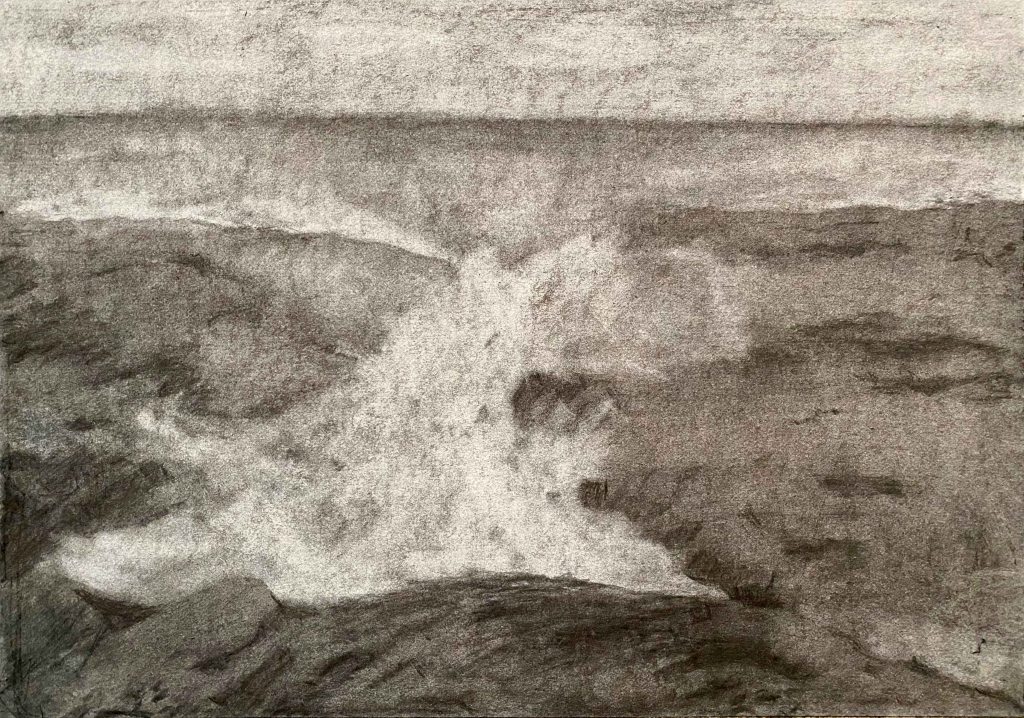
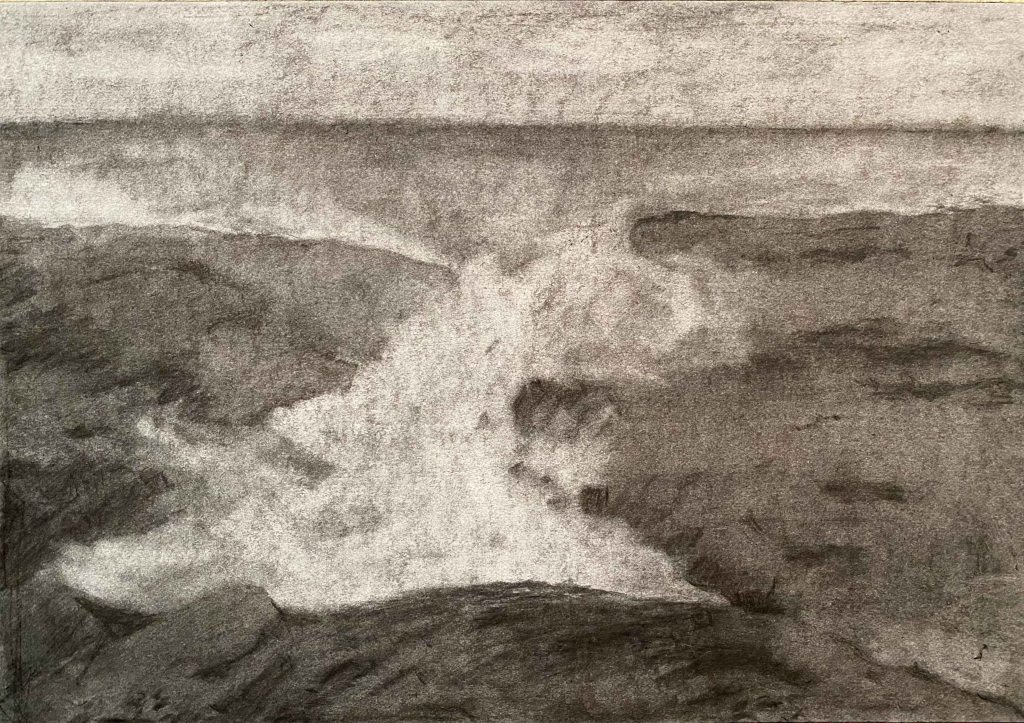
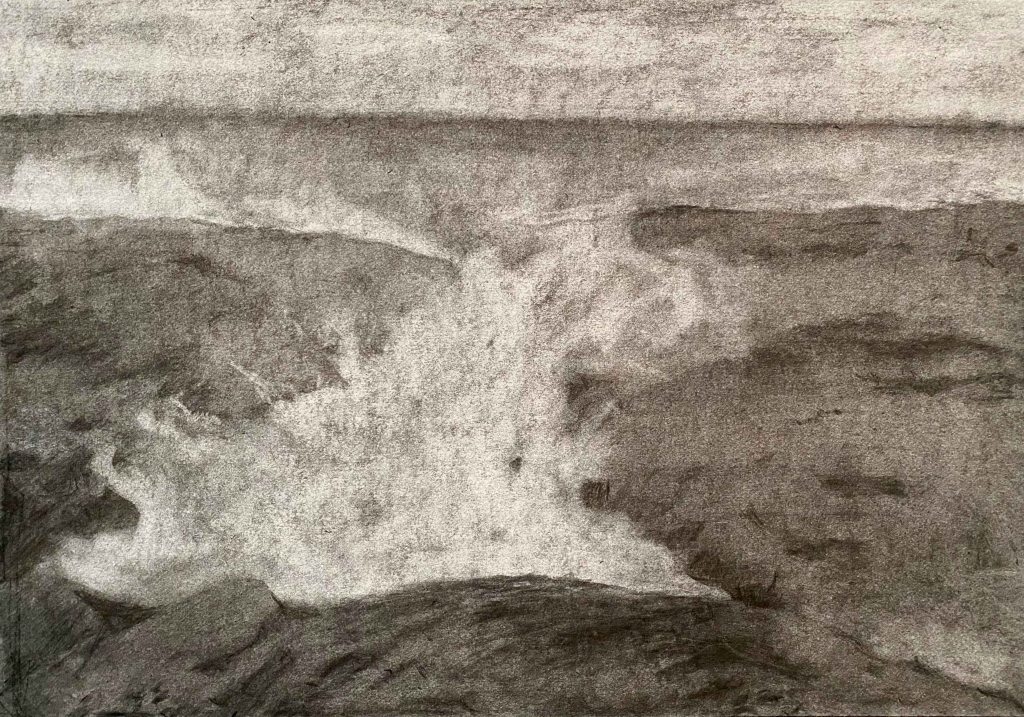
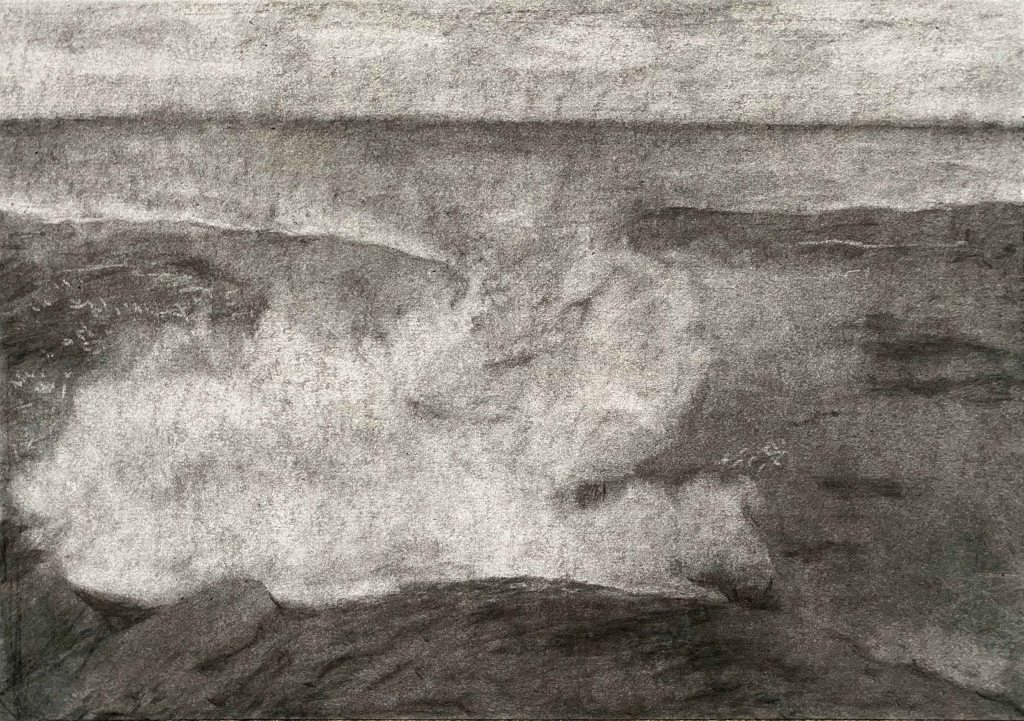
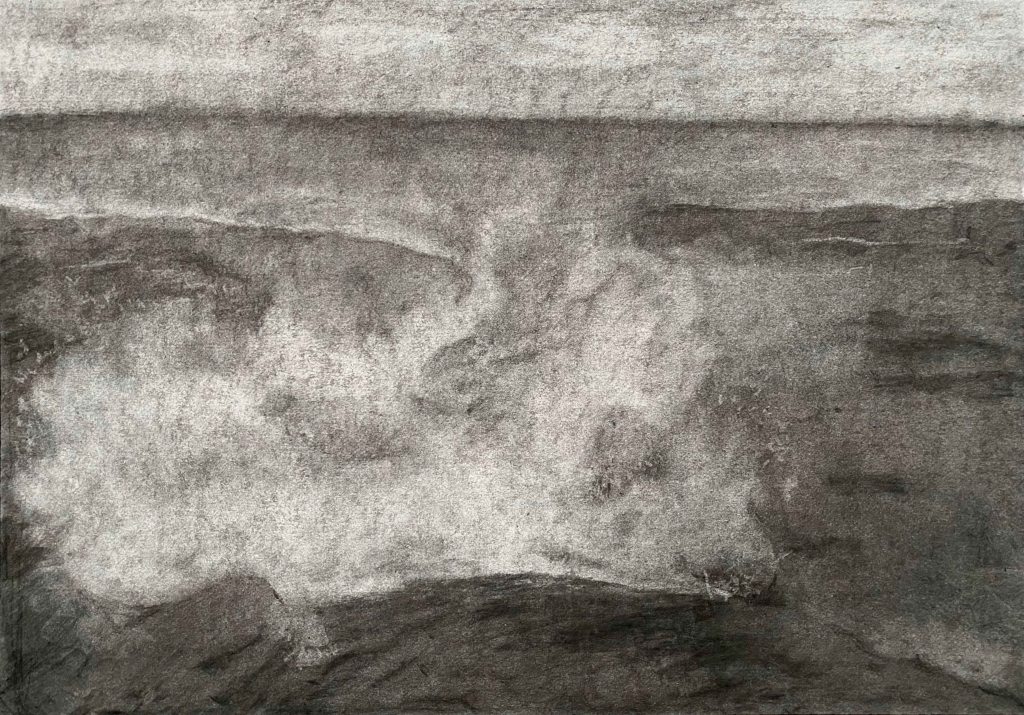
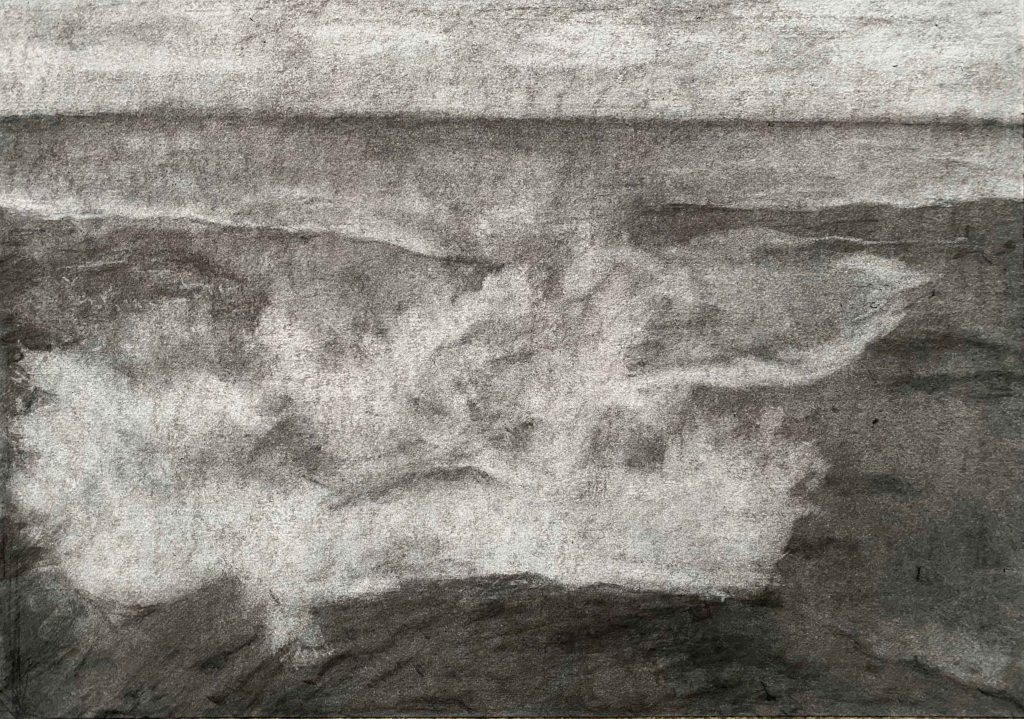
With good light, I start the process of transforming the wave, while taking a total of 27 photos of the change:


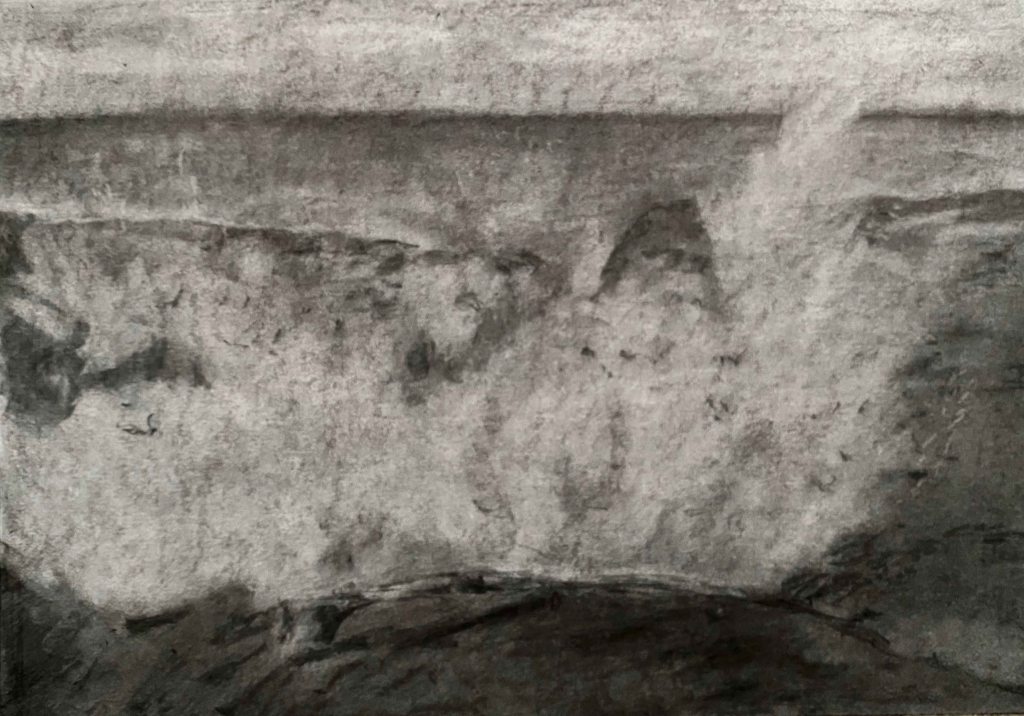
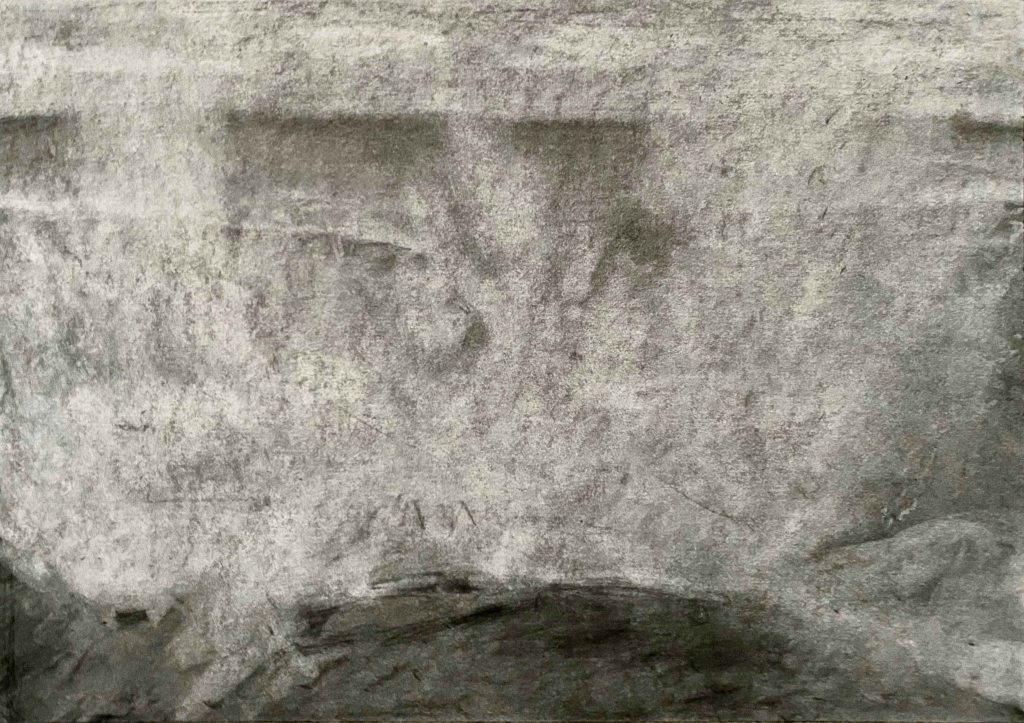
Now it is time to use Imovie to try and string these photos together to a stop motion film. I have never done this before and encounter all kinds of technical little hurdles, like a default zoom action between the images. Finally I have a small movie.
For the sound, I am in the city, not at the sea, and this is more a symbolical wave of feeling crushed. I record the sound of the trashtruck coming to pick up the recycled glass, and also the unbearable acoustics of the cafeteria where I often have lunch. I add both soundtracks and play them louder and louder to the increasing of the wave, and finally the silence at the last overwhelming image.
This free WordPress version does not support video, so please follow this link to You tube to see the video:
I am not overly happy with the final result- but I feel thrilled at having rediscovered the pleasure of using charcoal and having tried something very different with this stop motion video. Next time, I definitely need to fix the camera at one place instead of holding it in my hand as to avoid the jumping motions between images.
I think this series of drawings give a good illusion of space and depth, and the stop motion video adds the dimension of time as well.
By now, I have come across the charcoal portraits by Frank Auerbach and am absolutely in awe. He documents the many changes and the quest for the perfect form and all the movement in between in one single drawing, sometimes so intensely that the paper rubs off.
I am particularly fascinated by this portrait of Catherine Lampert with its free squiggles and lines. It conveys a restlessness in capturing the features that I can feel.
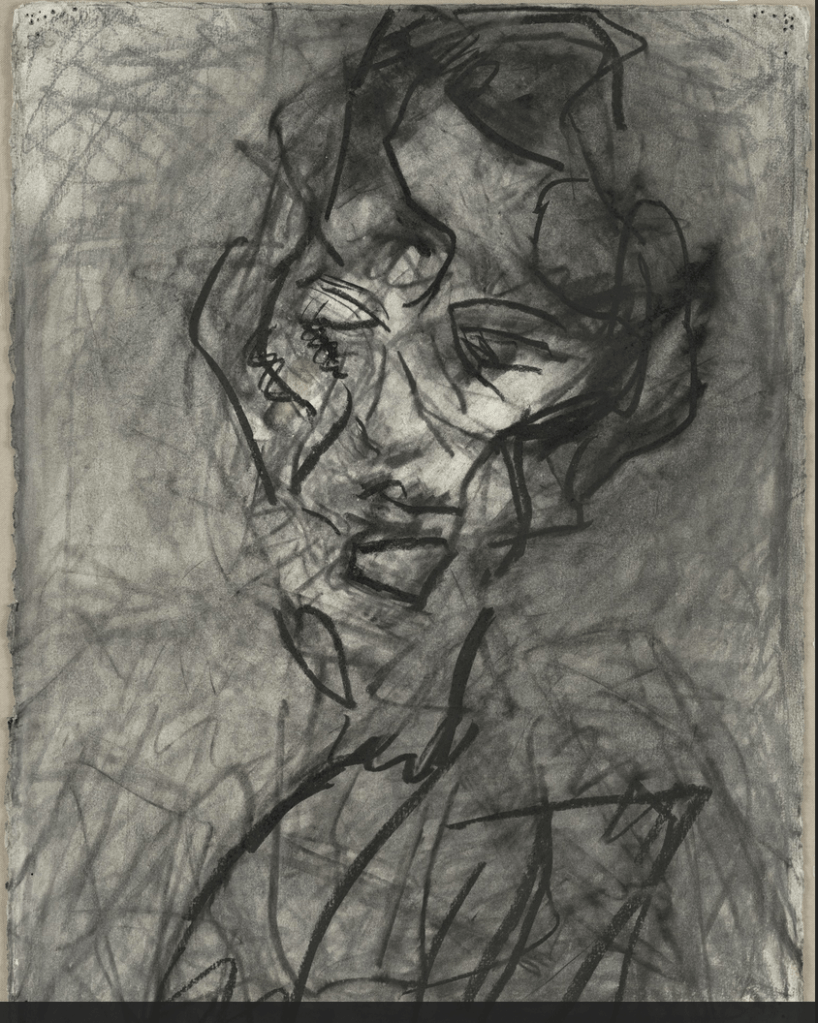
(Image from: Moma. 2019. Wwwmomaorg/collection/works/36886. [Online]. [12 February 2020]. Available from: https://www.moma.org/collection/works/36886)
I definitely want to try to draw a portrait inspired by this drawing.
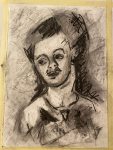
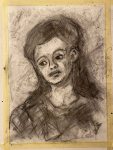
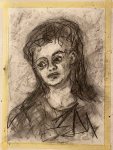
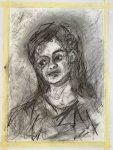
I start by covering the Winsor&Newton Smooth Surface Cartridge Paper in A3 size with a layer of charcoal, and then follow a long process of adding and erasing. I am drawing an imaginary portrait with closed eyes .
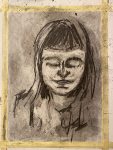
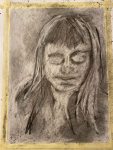
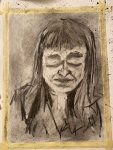
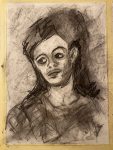
This is the final portrait in daylight:
This portrait still lacks some depth, but I am happy with the free marks inspired by Auerbach. I need to try this once more though, with a head turned to the side.
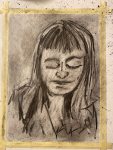
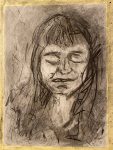
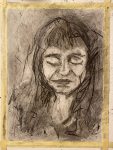
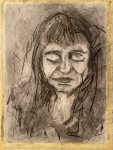
This is the process this time:
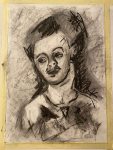
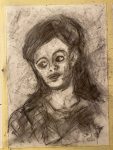
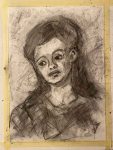
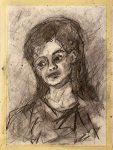
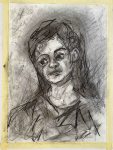

This is the final drawing “Beatrice”A3:
This time, there is a better sense of depth and I like the expression and tilt of the head and how the shape sits in the surrounding space. It is still very controlled and boring compared to Auerbachs portraits. It has helped me take one more small step towards loosening up the markmaking though.
Using charcoal in this way has helped me overcoming relying on outline instead of tone and has helped me rediscover this beautiful, versatile medium.

Your video is great, as is your Beatrice portrait. Just to say that you can embed your video in a WordPress page if you upload it to Vimeo.
LikeLike
Oh thank you so much! That is great to know! I have never tried Vimeo, but will now!
LikeLike